
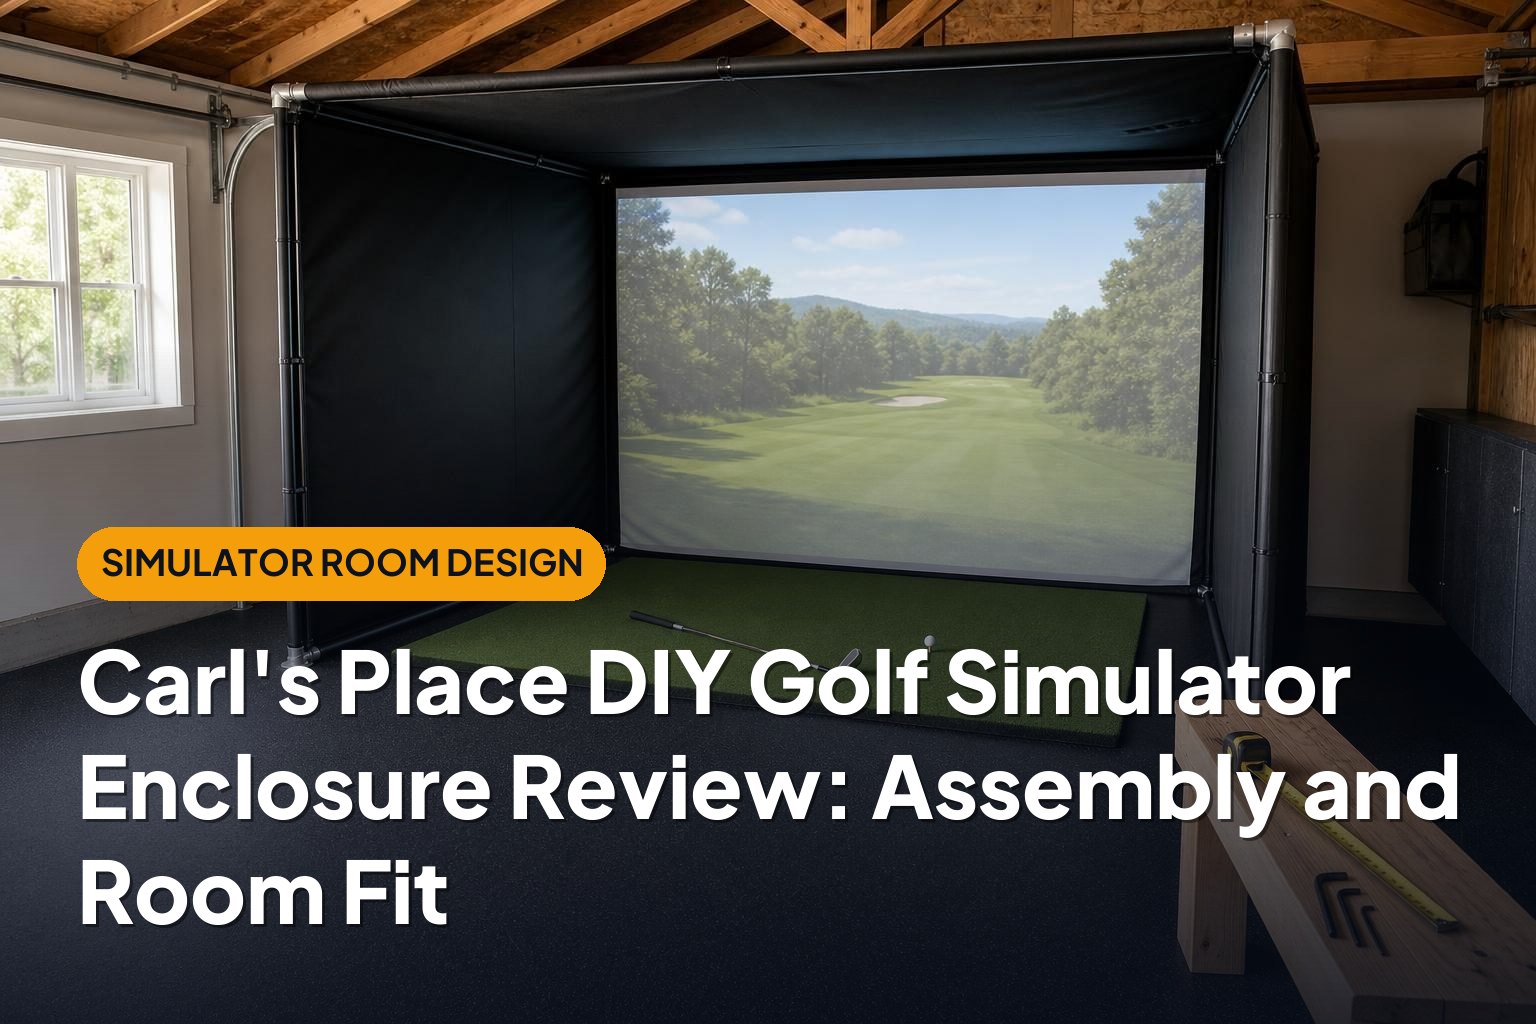
A golf simulator enclosure needs to do more than frame a projected image. It must fit your room, contain normal shots, and leave enough space for a comfortable swing. This Carl’s Place DIY enclosure review focuses on those practical details, especially assembly, room planning, and the compromises that come with a build-it-yourself setup.
This article is part of our guide: Golf Simulator Room Design Guide: Dimensions, Layout, and Safety
Overview
The Carl’s Place DIY Golf Simulator Enclosure is a configurable enclosure system built around an impact screen, a pipe frame, and surrounding fabric panels. It provides the hitting-bay structure rather than a complete simulator: you still need a hitting surface, launch monitor, and, for projected play, a projector and compatible simulation setup.
Its main appeal is flexibility. You can choose a configuration that suits your available space and decide how much of the frame preparation you want handled for you. Depending on the package selected, frame pipes may be purchased separately or included through an optional pipe kit. Check the exact contents before ordering.
The trade-off is that this is still a DIY project. Even with prepared components, you need to measure accurately, assemble a substantial frame, attach and adjust the screen, and work out how the enclosure interacts with the rest of the room.
This is a design-and-specification-based review rather than a hands-on test. Assembly effort, noise, and screen behavior will vary with enclosure size, screen selection, installation, and the room itself.
Who It Suits
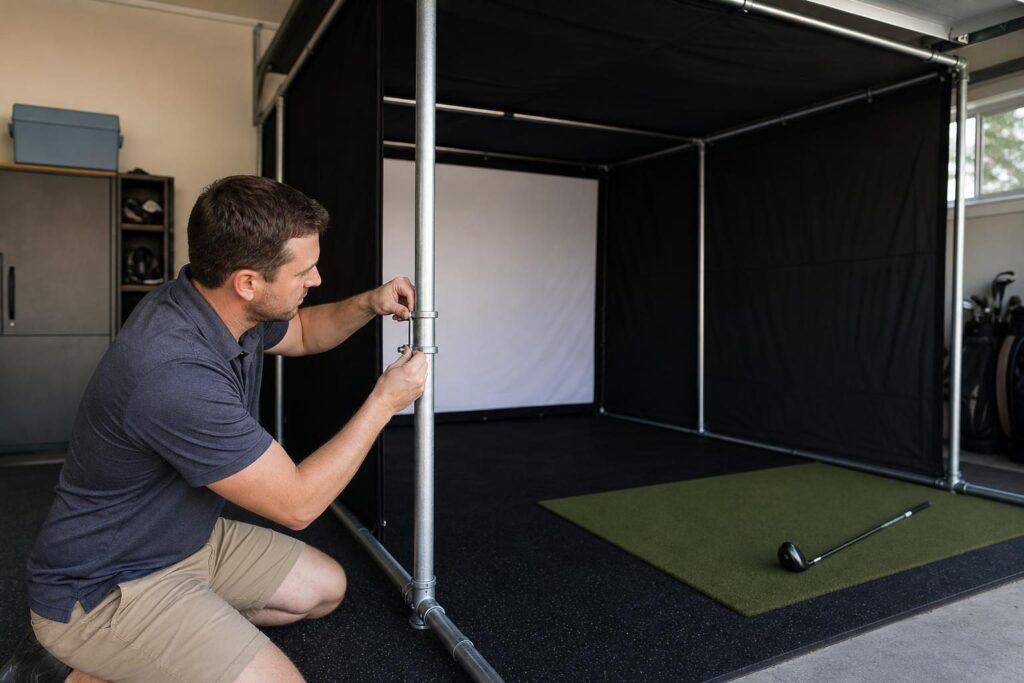
The Carl’s Place DIY enclosure makes the most sense for golfers who want a dedicated simulator bay without designing every component from scratch.
- Garage and basement builders: A framed enclosure can create a defined hitting area within a larger unfinished or multipurpose room.
- Comfortable DIYers: The system suits buyers willing to follow assembly instructions, check measurements, and make installation adjustments.
- Golfers planning around specific dimensions: The available sizing choices are useful when a generic enclosure would waste space or fit poorly.
- Buyers choosing their own simulator components: The enclosure can be planned around a separately selected launch monitor, projector, and hitting mat.
It is less suitable for someone expecting a lightweight enclosure that folds away after every session. A pipe-frame build can be dismantled, but that is different from being convenient to move or store regularly.
Key Features
A Configurable Enclosure Rather Than a Complete Simulator
The central benefit is the ability to plan the enclosure separately from the electronics. You are not locked into a single launch monitor or projector simply because you chose this enclosure.
That freedom creates some responsibility, however. Enclosure compatibility does not guarantee room compatibility. A launch monitor may require particular ball positions, clearances, or mounting locations that affect the entire layout.
Screen and Surrounding Fabric Panels
The impact screen provides the projection surface and receives the shot, while the dark enclosure panels help define the image area and intercept some off-center shots. Reducing light around the screen can also improve perceived image contrast.
Carl’s Place offers different impact-screen options. Compare their stated construction, image-quality characteristics, and intended use rather than assuming every configuration performs identically. Screen choice can affect the viewing experience, impact sound, and overall cost.
The enclosure should not be treated as a guarantee against every mishit. Depending on its depth, the hitting position, and who will use it, additional side or overhead protection may be appropriate.
Assembly: Manageable, but Not Instant
The basic process is straightforward in concept: assemble the pipe frame, fit the enclosure fabric, and attach the screen using the supplied attachment system. The exact sequence should follow the instructions for your selected configuration.
The larger challenge is handling the frame and keeping everything aligned. A second person is helpful when positioning longer sections, lifting the structure, and checking that the fabric and screen are sitting evenly.
- Check the order contents. Confirm whether your purchase includes the required frame pipes or whether you need to source them separately.
- Verify pipe specifications. If sourcing locally, follow the specified material, diameter, and cut list exactly. Similar-looking pipe is not necessarily interchangeable.
- Clear an assembly area. Allow space to lay out components and maneuver the frame, not just space for its finished footprint.
- Check alignment before final adjustment. A frame that is out of square can make screen tension and fabric fit harder to correct.
- Adjust the screen according to the instructions. Do not assume that pulling it as tight as possible will produce the safest or best result.
Pipe preparation is an important purchasing decision. Sourcing and cutting it yourself can add transport, tool, and finishing work. An optional prepared pipe kit may simplify that part of the project, but compare the complete delivered cost rather than the enclosure’s starting price alone.
Room Fit: Measure the Structure, Not Just the Image
The most important room-planning distinction is between the viewable screen dimensions and the overall assembled enclosure dimensions. The frame and surrounding fabric occupy space beyond the projected image.
Use the dimensional information for the exact configuration you intend to buy. Do not assume that a size described around its screen opening represents the enclosure’s total width or height.
| Measurement | What to check |
|---|---|
| Room width | Fit the full frame while preserving swing clearance and accounting for shelves, doors, and other obstructions. |
| Room height | Check both enclosure height and the golfer’s swing beneath beams, lights, tracks, or ceiling-mounted equipment. |
| Room depth | Include rear screen clearance, enclosure depth, hitting position, and any launch-monitor space requirements. |
| Projector location | Match the lens and throw distance to the intended image size without placing equipment in the swing path. |
| Access space | Leave a practical route for entry, maintenance, and reaching attachment points where needed. |
A screen must have room to deflect when struck. Follow Carl’s Place guidance for clearance behind your chosen screen and keep hard objects outside that deflection area. Pushing the screen against a wall to recover floor space can undermine safe performance.
Ceiling height also needs a golfer-specific check. An enclosure may physically fit while the room remains unsuitable for a particular player’s driver swing. Assess the tallest intended user and the longest clubs, allowing for shoes, mat thickness, and overhead obstructions.
Image Shape and Hitting Position
Choose the screen proportions alongside the projector plan. A wide image can be attractive, but a narrower room may call for a different screen shape. Confirm that your projector and software can produce a suitable image without unwanted cropping or unused screen area.
Also map the actual hitting position. A position that works for one right-handed golfer may not accommodate a left-handed player comfortably. Shared-use rooms deserve particular attention before the enclosure size is finalized.
Pros
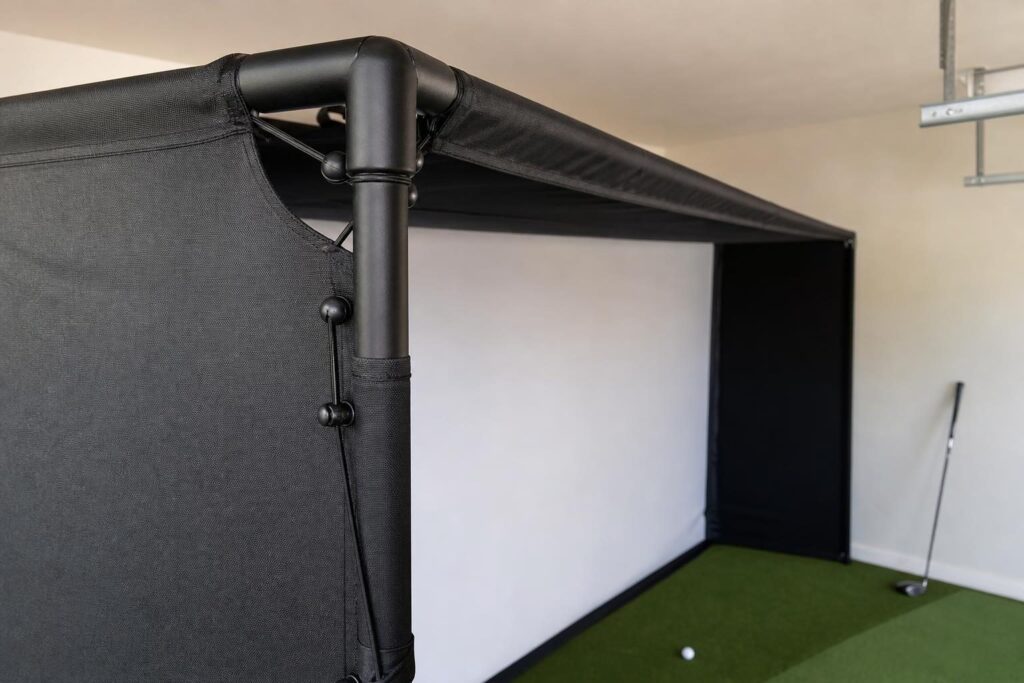
- Flexible room planning: Configuration choices help you work toward a better fit than a single fixed-size enclosure might provide.
- A coordinated starting point: The screen, surrounding panels, and frame hardware reduce the need to design an enclosure entirely from scratch.
- Independent component selection: You can choose simulator electronics and a projector around your priorities.
- Optional reduction in fabrication work: A pipe-kit option can remove the need to source and cut frame sections yourself.
- A defined simulator bay: The dark surround creates a more focused projection area than an exposed screen alone.
Cons
- Assembly still takes planning: Frame handling, alignment, and screen adjustment require time and care.
- The starting price is not the full project cost: Pipes, optional protection, flooring, electronics, shipping, and accessories can change the budget substantially.
- Not an everyday fold-away solution: The assembled structure occupies meaningful space.
- Protection depends on the layout: Some installations need additional coverage for high, wide, or poorly struck shots.
- Room limitations remain: Enclosure sizing cannot compensate for an unsafe swing area or insufficient launch-monitor clearance.
Alternatives Worth Considering
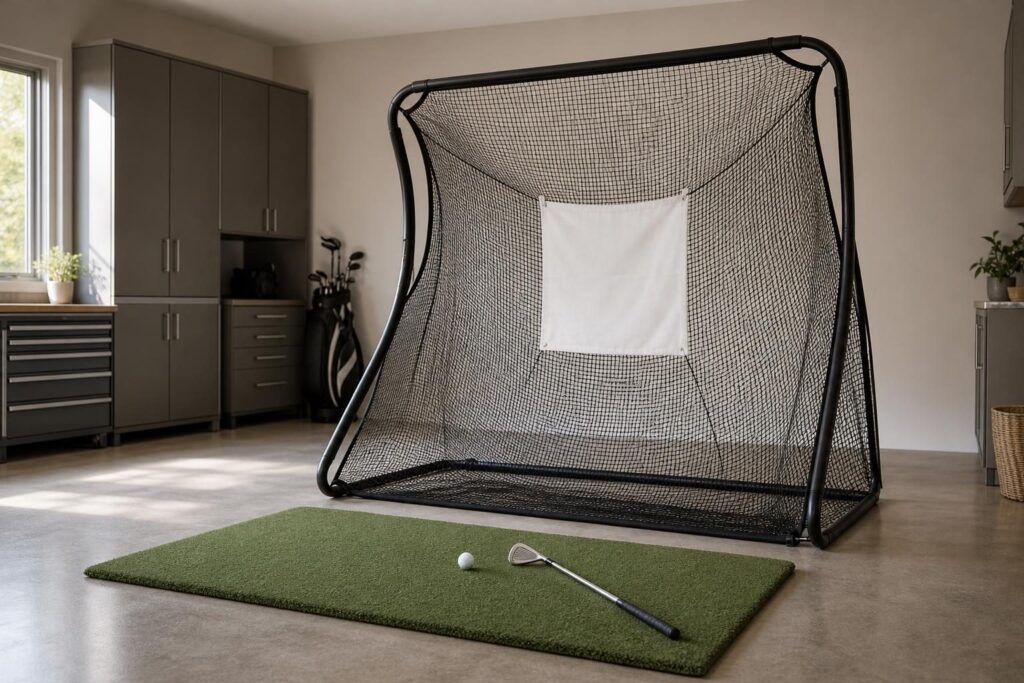
A Fully Custom DIY Enclosure
Building from separately sourced pipe, fittings, fabric, and a screen offers more control over unusual room shapes. It may appeal to experienced builders, but it also puts responsibility for compatibility, attachment design, and exposed-frame protection on you. Compare complete material costs and labor, not just the screen price.
A Retractable Screen System
A retractable setup is worth considering when the room must regularly return to another use. It can reclaim space more conveniently than dismantling a fixed frame, although side protection, mounting requirements, and the stored hitting mat still need a plan.
A Professionally Designed Installation
A specialist installation may be the better choice for a finished entertainment room, an awkward ceiling, or a buyer who wants less coordination work. Its value lies in integrating the enclosure, projection, protection, flooring, and equipment placement as one project.
Verdict
The Carl’s Place DIY enclosure is a strong candidate for golfers who want a configurable, dedicated simulator bay and are comfortable with practical assembly. Its appeal is the coordinated enclosure system and sizing flexibility—not freedom from measuring or installation work.
The key takeaway from this Carl’s Place DIY enclosure review is to plan the complete room before choosing the enclosure size. Confirm overall dimensions, screen deflection space, swing clearance, projector placement, and launch-monitor requirements first. If those checks work, it offers a sensible middle ground between a fully custom build and a professionally integrated simulator room.
