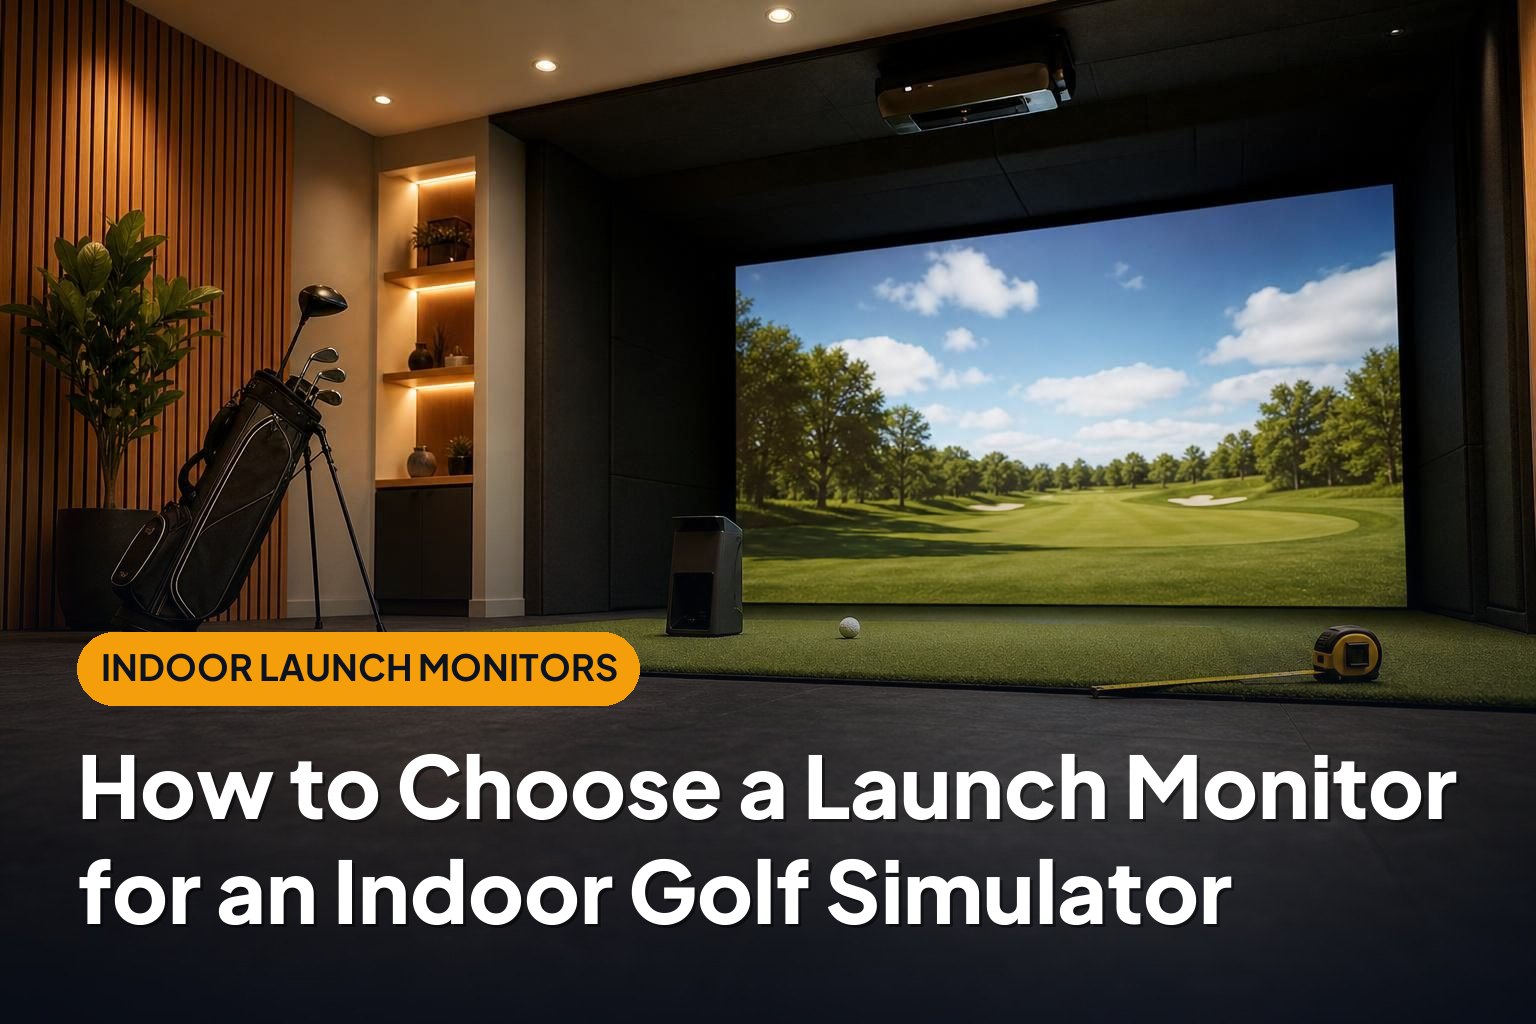
The best launch monitor for indoor golf simulator use is the one that fits your room, captures the shots you care about, and works with your preferred software. A device with an impressive feature list can still be the wrong choice if it needs more ball flight than your space allows or makes switching between golfers awkward.
This guide explains the main decisions, from room dimensions and tracking technology to golf balls, subscriptions, and setup. Start with your physical space, then work toward the features that will genuinely improve your practice and play.
1. Start With Your Room, Not the Launch Monitor
Before comparing specifications, measure your proposed hitting area. Indoor launch monitors have different placement requirements, and those requirements can eliminate unsuitable options immediately.
Measure the complete hitting environment
- Ceiling height: You need clearance for your actual swing, including your longest club. Your height, swing shape, and hitting mat thickness all matter.
- Room width: Allow room for the clubhead, your body, the enclosure, and any golfers playing from the opposite side.
- Ball-to-screen distance: Some monitors need a meaningful stretch of visible ball flight; others measure impact within a compact hitting area.
- Space behind the ball: Rear-mounted radar units need their own placement distance behind the hitting position.
- Screen clearance: Leave the clearance required by the screen and enclosure manufacturer behind and around the impact surface.
Do not confuse the launch monitor’s minimum operating distance with the minimum safe room size. A monitor may capture a shot in a compact area even when that area does not allow a safe driver swing.
Short ball-to-screen distances
For a short simulator room, a side-mounted camera-based or overhead system is often the most practical starting point. These systems generally do not depend on watching several feet of downrange ball flight in the same way that rear-mounted radar systems do.
However, there is no universal minimum distance that applies to every model. Check the manufacturer’s current requirements, including hitting-zone dimensions and recommended screen separation. Also consider bounce-back and whether the projected image feels uncomfortably close.
Left- and right-handed golfers
A side-mounted monitor may need to move when you switch between left- and right-handed players. That can mean repositioning, realignment, and a break in the flow of a round.
Rear-mounted and overhead systems can make mixed-handed play easier because they generally remain in place. Still, check that the supported hitting area and your room width accommodate both players safely. An offset hitting position that works for one golfer may not work for another.
2. Understand the Main Tracking Technologies
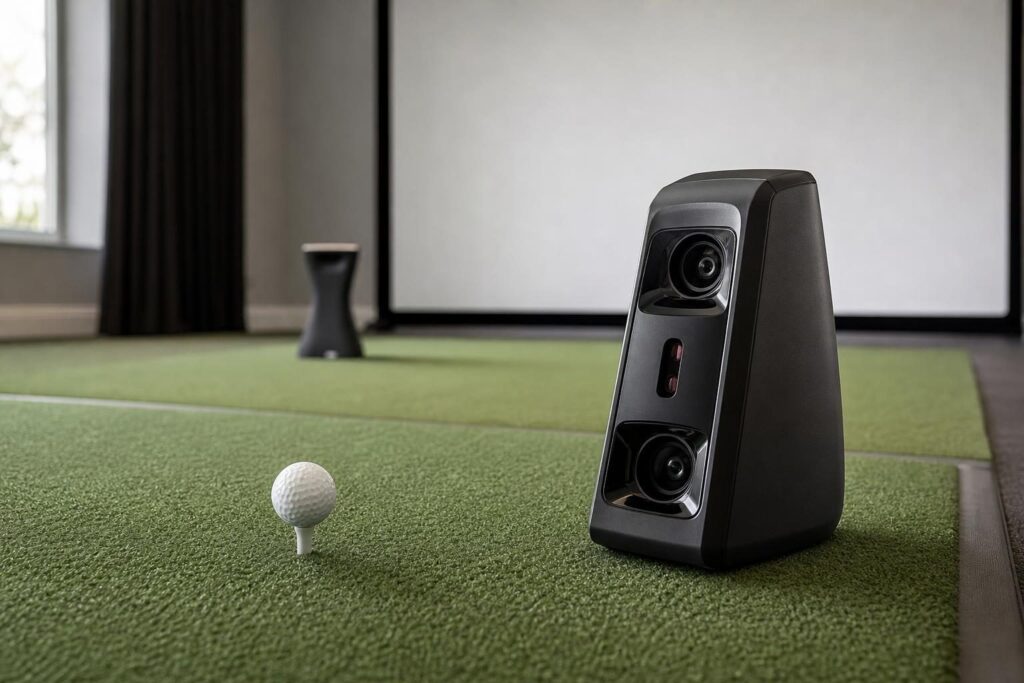
Launch monitors do not all observe a shot in the same way. Understanding the basic technologies helps explain differences in room requirements, placement, and indoor performance.
| System type | Typical placement | Main indoor advantage | Main consideration |
|---|---|---|---|
| Side-mounted camera-based | Beside the ball | Usually well suited to limited room depth | Hitting-zone placement and handedness changes |
| Rear-mounted radar or radar-camera hybrid | Behind the golfer | Often portable and convenient for mixed-handed play | Requires space behind the ball and adequate ball flight |
| Overhead camera-based | Mounted above the hitting area | Keeps hardware off the floor and supports shared use | Installation requirements and mounting height |
Camera-based systems
Camera-based monitors use high-speed images to observe the ball around impact. Depending on the model, they may also capture club delivery information.
Their compact measurement area makes them attractive for indoor simulators. However, precise ball placement, a clear view of impact, and appropriate lighting conditions can still matter.
Radar and hybrid systems
Radar-based monitors observe motion using radar, sometimes combined with cameras. They commonly sit behind the player and can serve both indoor and outdoor practice.
Indoors, their performance depends on the specific model, available flight distance, setup, and sometimes the ball being used. Do not assume all radar devices have identical requirements simply because they share a broad technology category.
Likewise, some side-mounted products combine cameras with radar. Judge the complete device and its installation requirements rather than choosing by a technology label alone.
3. Decide Which Data and Accuracy You Actually Need
A long data list does not automatically make a launch monitor better. What matters is whether it provides dependable information for your intended use.
Separate measured data from calculated results
Launch monitors capture information about the ball, club, or both. Software then uses that information to calculate the virtual shot.
- Ball speed: How fast the ball leaves impact.
- Launch angle and direction: The ball’s initial vertical and horizontal direction.
- Spin rate and spin axis: Important inputs for flight, curvature, and landing behavior.
- Club data: Depending on the system, this may include club speed, path, face angle, or attack angle.
- Calculated flight results: Carry distance, peak height, and other outputs produced by the flight model.
Not every advertised metric is directly measured. Some values are estimated from other inputs, and certain club measurements require stickers, accessories, or additional purchases. Check the details rather than relying on the total number of metrics.
Match performance to your goals
For casual rounds with friends, reliable shot capture and believable flight may matter more than detailed club delivery numbers. For structured practice, dependable carry distances, launch conditions, and spin become more important.
If you want to diagnose a slice, distinguish between measured information about the clubface and a ball-flight result that suggests what happened. Ball flight is useful, but it is not the same thing as a direct face-angle measurement.
Check the shots beyond a full iron swing
Consider drivers, wedges, chips, and putting separately. A system that performs well on full swings may have different limitations on very short shots.
Putting support also varies by device and software combination. If realistic putting is important, verify that exact combination before buying. Otherwise, decide whether automatic putting or another simplified format would suit your rounds.
4. Compare Popular Indoor Options by Use Case
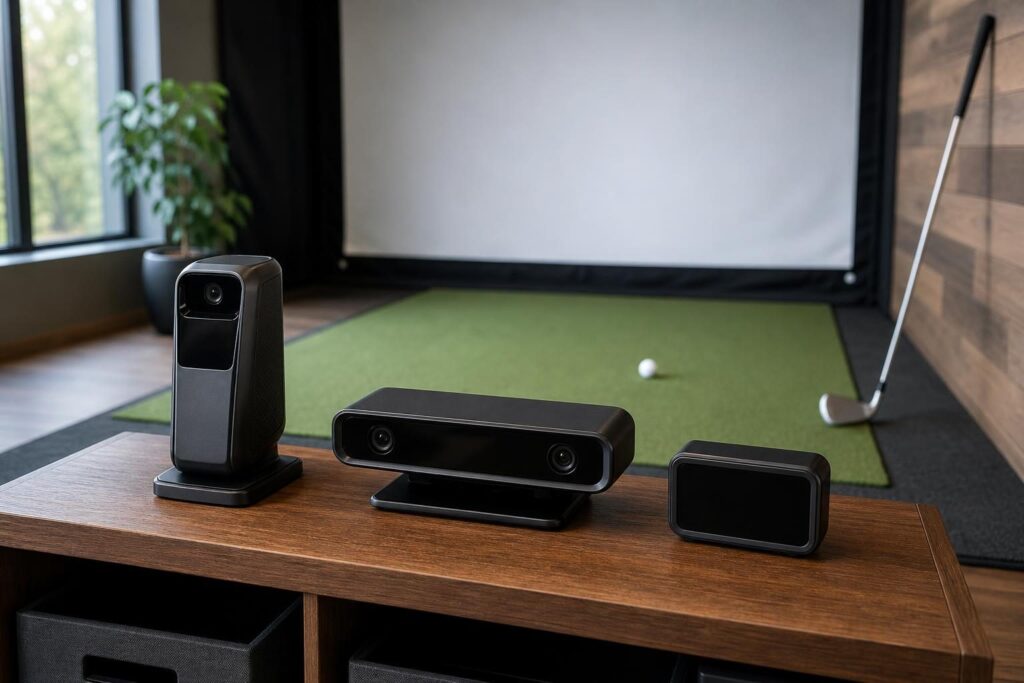
Product comparisons are most useful after you understand your room and priorities. These familiar options illustrate the trade-offs without assuming one model is right for everyone.
SkyTrak+: a side-mounted option for indoor-focused setups
SkyTrak+ combines camera-based ball tracking with radar technology for club data. Its position beside the ball makes it worth considering when space behind the golfer is limited.
When evaluating SkyTrak+, focus on indoor shot consistency, its defined hitting area, supported club metrics, and software access. Also account for moving the unit if left- and right-handed golfers will share the simulator.
Garmin Approach R10: portability with indoor trade-offs
The Garmin Approach R10 is a compact rear-mounted radar launch monitor. It appeals to golfers who want a portable device for practice and compatible simulator play.
Indoors, pay particular attention to required distances, alignment, and which data is measured versus estimated. Its space needs and approach to spin and shot-shape information deserve consideration if detailed indoor practice is your main goal.
Rapsodo MLM2PRO: a hybrid system with ball requirements to understand
The Rapsodo MLM2PRO combines radar and cameras in a rear-mounted design. It is another option for golfers balancing indoor simulation with portability.
A key consideration is its use of supported RPT-pattern golf balls for measured spin rate and spin axis. Assess value using the complete package: room requirements, appropriate balls, membership features, and access to your intended simulation software.
SkyTrak+ versus FlightScope Mevo+
This comparison often starts with room layout. SkyTrak+ sits beside the ball, while FlightScope Mevo+ operates behind the hitting position and requires sufficient indoor tracking space.
SkyTrak+ may be easier to accommodate in a shorter room. Mevo+ may better suit someone who values a rear-mounted arrangement, mixed-handed use, and indoor-outdoor flexibility. Compare the required data packages and software costs as well as the hardware.
Garmin Approach R10 versus Rapsodo MLM2PRO
Both are portable, rear-mounted options, so neither should be selected without checking room depth. Compare their indoor spin capabilities, ball requirements, supported devices, and ongoing costs.
For this choice, decide how much you value measured spin information, impact video features, and the overall practice experience. A lower initial hardware cost does not necessarily mean the lower total cost for your preferred setup.
5. Check Software Compatibility and Total Ownership Cost
The launch monitor captures the shot, but software shapes much of your simulator experience. Before buying hardware, identify the practice tools and course-play features you want.
Confirm the complete compatibility chain
- Simulation software: Does the exact launch monitor support your preferred platform?
- Computer or mobile device: Does the software run on your operating system and hardware?
- Connection method: Will the required Wi-Fi, USB, Bluetooth, or network arrangement work in your room?
- Membership requirements: Is a paid manufacturer plan needed to enable third-party simulation or specific data?
- Playing features: Are putting, multiplayer, online play, and practice modes supported as you expect?
Compatibility can depend on the particular device, subscription tier, and software version. Confirm current support directly before purchasing rather than assuming that a brand-level compatibility statement covers every product.
Budget beyond the monitor
Your total may include simulation software, manufacturer memberships, a gaming computer, a projector, an impact screen, an enclosure, and a quality hitting mat. Special balls, mounting hardware, protective accessories, and optional data packages can add further costs.
A protective case can be sensible for a floor-mounted monitor near beginners or frequent guests. Check that any accessory leaves the device’s sensors and required sightlines unobstructed.
Compare complete systems over your expected ownership period. This gives a more useful picture than comparing hardware prices alone.
6. Plan for Alignment, Golf Balls, and Troubleshooting
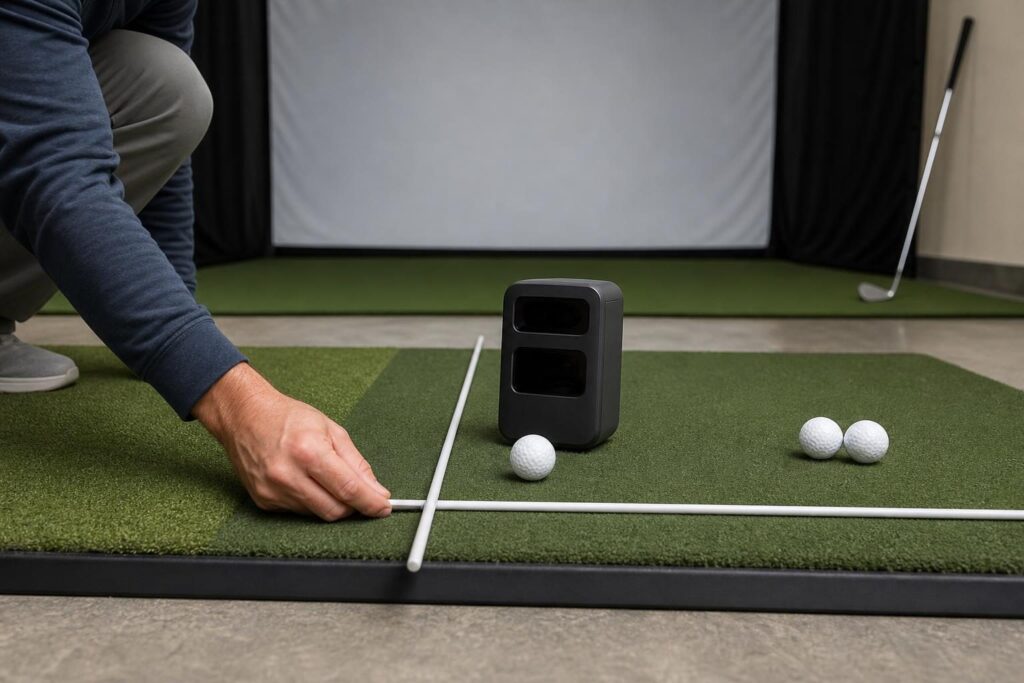
Even a capable launch monitor can produce disappointing results when the setup is inconsistent. Good installation habits are part of choosing the right system, not an afterthought.
Alignment and calibration basics
Follow the manufacturer’s instructions for placement, level, height, and target alignment. These procedures differ between devices; not every monitor requires the same type of calibration.
- Establish a clear physical target line from the hitting position.
- Place or mount the monitor at the specified distances and height.
- Check the relationship between the hitting mat and the monitor’s reference surface.
- Use the supplied alignment tool, camera view, or software process where available.
- Hit several normal shots and investigate unexpected start lines before making swing changes.
The center of your projected screen is not automatically the correct target line, especially in an offset installation. Your physical alignment and software aim settings need to agree.
Do indoor launch monitors need special golf balls?
Some work with ordinary golf balls, while others require or benefit from marked balls for particular measurements. Requirements may include printed patterns, reflective markings, or another supported design.
For example, the MLM2PRO uses supported RPT-pattern balls for its measured spin features. Other systems have different requirements, so do not assume a ball designed for one monitor improves another.
Use clean, undamaged balls suitable for your impact screen. Also check whether a required ball matches the playing characteristics you want for practice.
How to approach missed shots
If the monitor fails to register shots, start with repeatable checks rather than changing several settings at once.
- Confirm that the ball is within the supported hitting zone.
- Check alignment, distances, mounting height, and level.
- Clean accessible lenses or sensors according to the manufacturer’s instructions.
- Verify any ball-marking or club-sticker requirements.
- Check device readiness, battery level, connection stability, and firmware.
- Investigate lighting or radar interference where relevant to the model.
Notice whether missed shots occur with every club or only with chips, putts, or high-speed swings. That pattern can help distinguish a general setup issue from a shot-specific limitation.
7. Build a Shortlist Around Your Priorities
Once you have checked the essentials, narrow your choices to two or three systems. Use your most restrictive requirement first.
| Your priority | What to investigate first |
|---|---|
| Short room depth | Side-mounted camera-based and overhead systems |
| Frequent left- and right-handed play | Systems that remain fixed for both players |
| Indoor and outdoor practice | Portable systems with suitable requirements in both environments |
| Detailed swing improvement | Measured ball and club data, including any required add-ons |
| Simple family entertainment | Reliable capture, easy software, and straightforward player switching |
| Controlled ongoing spending | Total software, membership, accessory, and hardware costs |
Before committing, read the setup manual for each finalist. Look for independent indoor evaluations that explain room dimensions, ball choice, software, and test conditions rather than offering unexplained accuracy claims.
If possible, arrange a demonstration using the shots you expect to play. Confirm the return policy too, particularly if your room is close to the manufacturer’s minimum requirements.
Conclusion
The best launch monitor for an indoor golf simulator is not simply the one with the most data. It is the one that works safely in your room, captures your intended shots reliably, and supports the software experience you want at a manageable total cost.
Measure first, compare tracking and data needs second, and verify software and setup requirements before buying. That sequence will help you build a simulator that is easier to use and more useful every time you play.