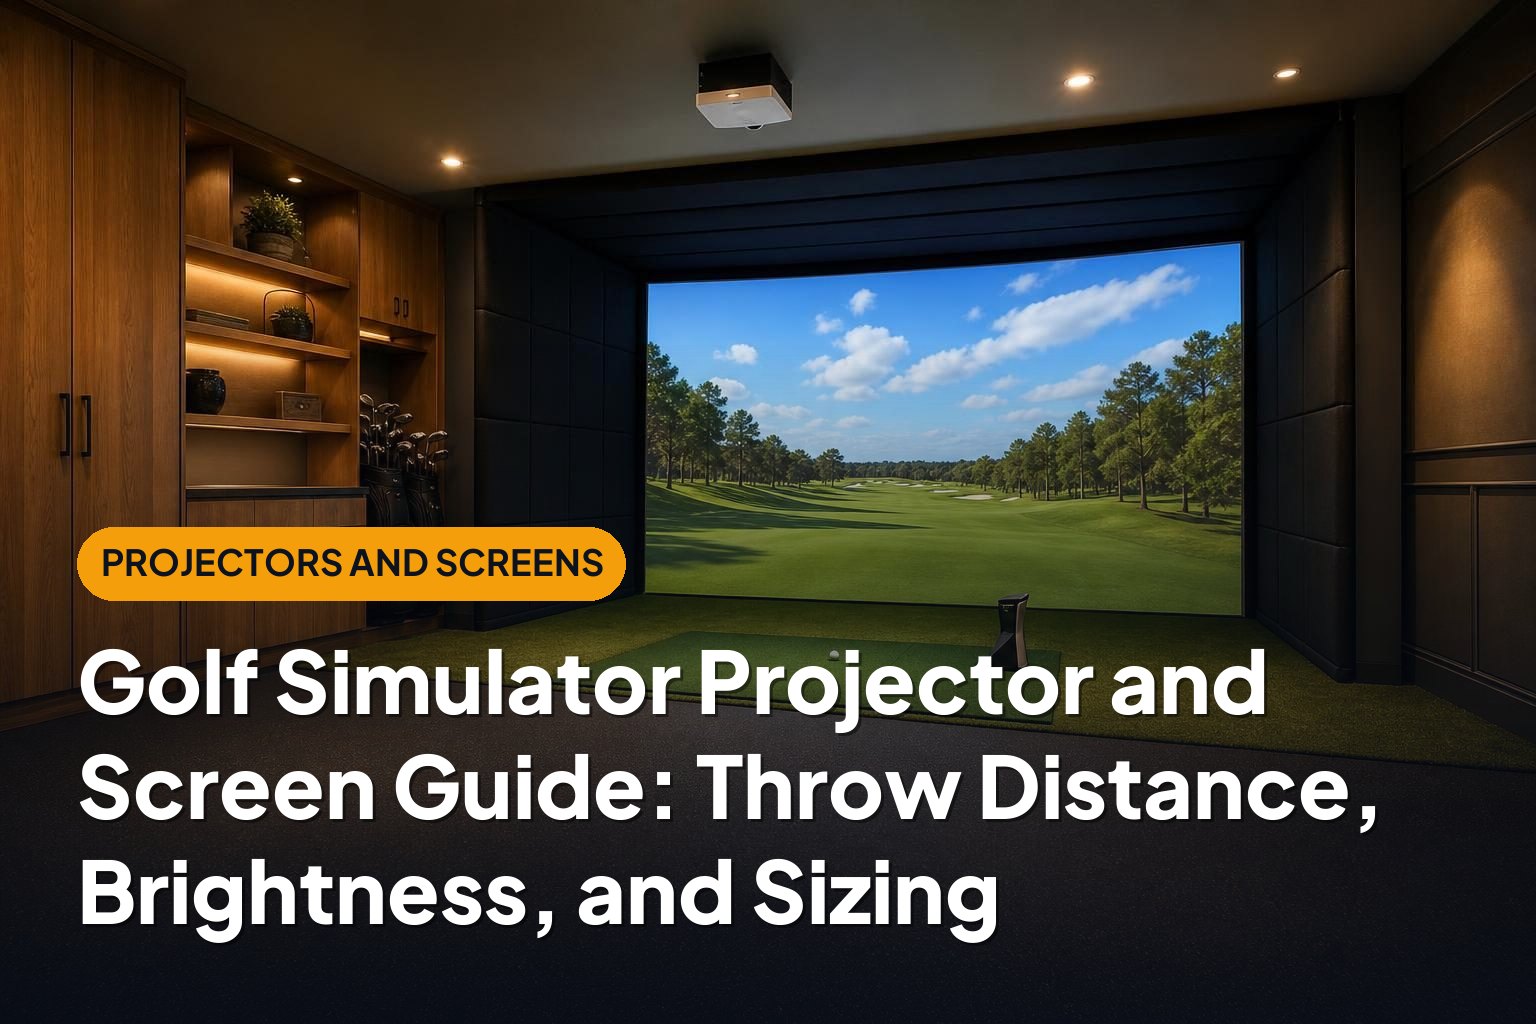
A golf simulator’s picture quality depends on more than the projector. Screen dimensions, throw distance, room lighting, mounting position, and impact-screen construction all work together. This golf simulator projector and screen guide explains how to match those pieces, avoid common installation mistakes, and build a setup that looks good without compromising swing space or safety.
1. Start With the Room, Not the Projector
Before comparing projectors, measure your usable room width, depth, and ceiling height. Include garage-door tracks, beams, lights, storage, and anything else that could interfere with a club, projector mount, or enclosure.
Next, establish where you can swing comfortably. Use your longest club and make slow practice swings without a ball, checking clearance throughout the swing. Consider every golfer who will use the simulator, including both right- and left-handed players if relevant.
Your layout needs room for several separate elements:
- Screen and enclosure: Including the frame, side protection, and clearance behind the impact surface.
- Hitting position: Far enough from the screen for the equipment manufacturer’s recommendations and your chosen layout.
- Launch monitor: With the required placement, ball-flight distance, and unobstructed sensing area.
- Projector: Positioned to fill the screen without entering the swing path or creating distracting shadows.
- Seating and circulation: Safely outside the hitting and ball-rebound areas.
Do not choose the screen size in isolation. A screen that technically fits between two walls may still leave insufficient room for its frame, side netting, or a safe hitting position.
Mark the proposed screen, hitting area, and projector position before buying. This simple layout exercise often reveals conflicts that product specifications alone cannot show.
2. Choose Screen Size and Aspect Ratio Together
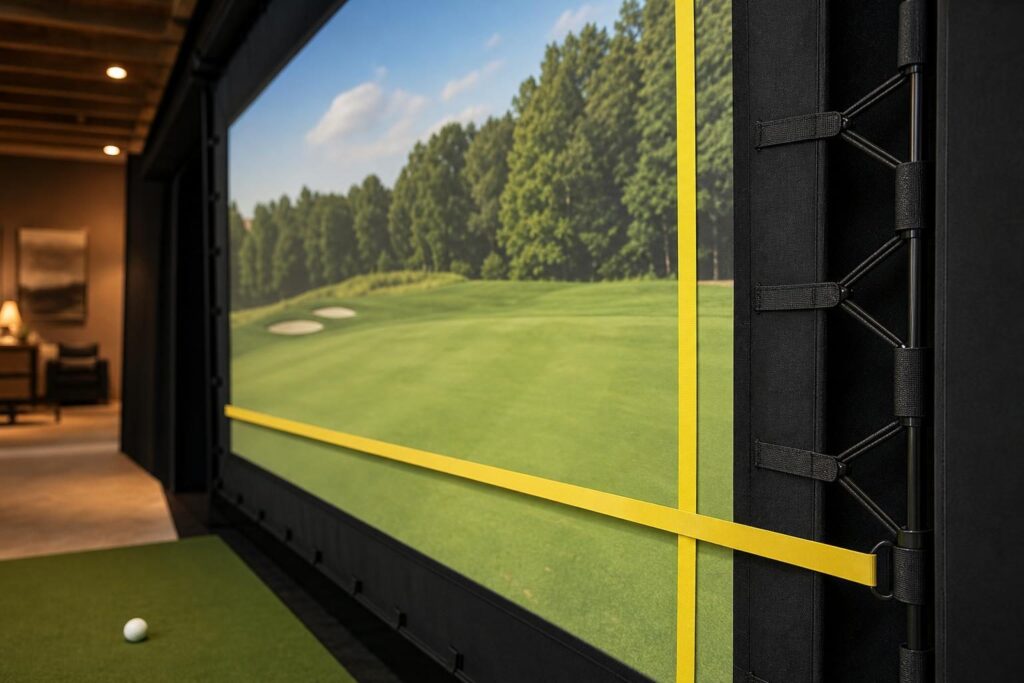
For a golf simulator, screen width and height are usually more useful than diagonal size. Width influences immersion, while height determines how much of the available wall becomes usable image area.
Distinguish the screen’s overall dimensions from its viewable area. Borders, attachment tabs, and enclosure components can reduce the area available for projection. Calculate your image around the manufacturer’s stated viewable dimensions.
Common simulator aspect ratios
Aspect ratio describes the relationship between image width and height. The best choice depends on your room and how your projector, computer, and simulator software handle the desired output format.
| Aspect ratio | Where it can work well | Main consideration |
|---|---|---|
| 16:9 | Wider rooms and setups also used for movies or gaming | Matches many home-entertainment projectors but may leave unused height |
| 16:10 | Rooms needing a somewhat taller image relative to width | Check projector resolution and software compatibility |
| 4:3 | Narrower rooms where a tall screen makes better use of the wall | Widescreen projectors may require unused image area or compatible custom output settings |
To calculate image height, divide the width by the aspect ratio. A 12-foot-wide 16:9 image is 6.75 feet tall. A 12-foot-wide 4:3 image is 9 feet tall.
A projector can often display content in a different aspect ratio, but that does not mean it uses its full imaging area efficiently. Black bars, scaling, or cropping may result. Confirm the exact signal formats and aspect controls before assuming a widescreen model will perfectly fill a taller screen.
For an irregularly shaped space, a custom-size impact screen may be practical. However, custom screen dimensions do not automatically guarantee a matching projected image.
3. Calculate Throw Distance and Check Mounting Geometry
Throw distance is the distance from the projector’s lens to the screen. Throw ratio connects that distance to image width:
Throw distance = image width × throw ratio.
For example, a projector with a 0.8:1 throw ratio needs approximately 8 feet of lens-to-screen distance to create a 10-foot-wide image. At 1.2:1, that same image requires approximately 12 feet.
Keep your units consistent, and measure from the lens rather than the back of the projector. A zoom lens may provide a throw-ratio range, allowing some flexibility in mounting distance.
Short-throw versus standard-throw projectors
Short-throw projectors create a larger image from closer to the screen. This can help position the projector ahead of the golfer and reduce shadows, although the actual result depends on mounting height and hitting position.
Standard-throw projectors need more distance for the same image width. They can work well in deeper rooms, but a position behind the golfer may introduce shadows or conflict with other equipment.
Ultra-short-throw models are a separate category. Their very close placement and sensitivity to screen flatness can make flexible impact screens challenging. Do not assume a projector designed for a rigid home-theater screen will suit a golf enclosure.
Throw distance is only part of the calculation
Also check:
- Vertical offset: Where the image appears above or below the lens in the intended mounting orientation.
- Lens shift: Whether the image can move optically without repositioning the projector.
- Mount dimensions: The space taken up by the bracket, projector body, and cable connections.
- Swing clearance: Whether the projector or mount could be struck by a club.
- Ball protection: Whether an exposed projector needs a suitable protective enclosure with adequate ventilation.
Models such as the BenQ TK700STi are relevant to golf-simulator comparisons because they combine short-throw projection with 4K UHD image capability. Still, assess the exact throw range, image offset, mounting requirements, and image quality rather than treating the short-throw label as a guarantee of fit.
Use the manufacturer’s projection calculator and installation manual to verify your calculations. Minimize digital keystone correction where possible: it can reshape an image, but it does not correct a fundamentally unsuitable mounting position and can reduce usable image detail.
4. Match Brightness to Ambient Light and Image Size
A projector that looks bright on a small screen in darkness may look washed out on a large simulator screen with the garage door open. Brightness requirements increase with image area and ambient light.
Look for brightness measurements using recognized methods, such as ANSI or ISO specifications. Be cautious with vague marketing terms that do not identify a measurement method. Even standardized maximum-brightness figures do not tell you exactly how bright a projector will be in its most color-accurate mode.
Control light before paying for more brightness
- Block direct sunlight from windows and garage-door glazing.
- Keep ceiling lights from shining onto the screen.
- Use task lighting aimed at the hitting area rather than the projection surface.
- Add dark, nonreflective material around the screen to reduce reflected light.
A brighter projector can improve usability in a partially lit room, but it cannot restore deep blacks on a screen illuminated by daylight. Ambient light raises the screen’s black level, reducing perceived contrast.
When comparing projectors for rooms with ambient light, prioritize useful brightness, readable course detail, and acceptable color in the mode you will actually use. For a dedicated dark simulator room, contrast and color balance may deserve more weight.
Also consider image size. Spreading the same light over a larger surface makes the picture dimmer. If your budget is limited, a slightly smaller image with better light control may look better than the largest image the wall can hold.
5. Decide Between 1080p and 4K—and Set a Realistic Budget
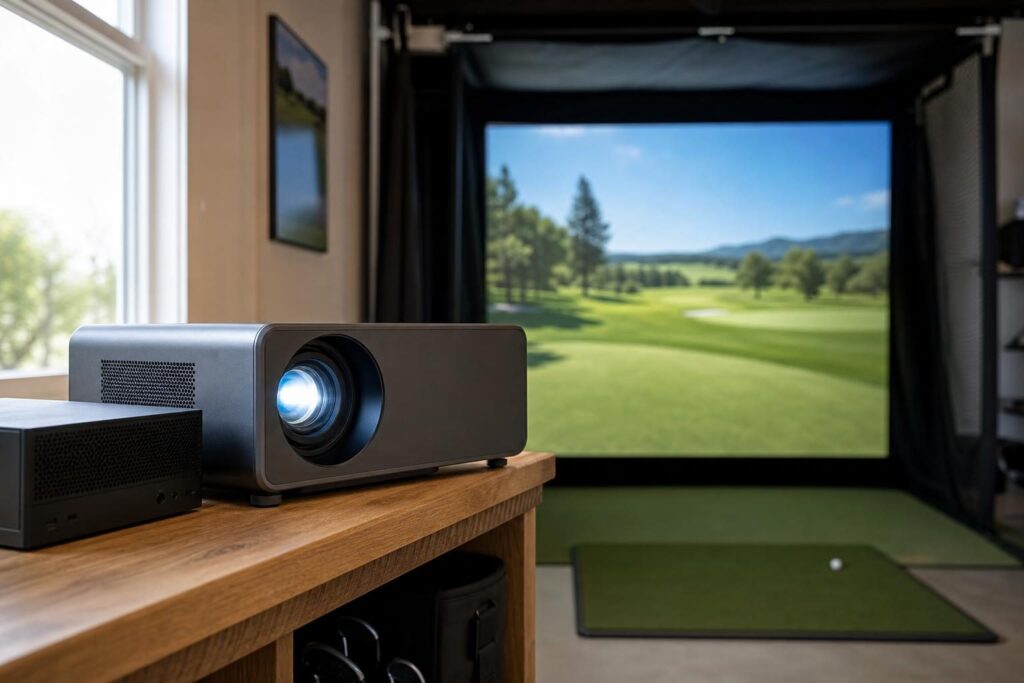
Both 1080p and 4K can deliver an enjoyable golf simulator experience. The value of higher resolution depends on screen size, viewing distance, software graphics, and the computer driving the image.
1080p is often the practical budget choice. It can provide a clear, playable image while leaving more money for a safe enclosure, a better impact screen, or effective light control.
4K provides greater displayed detail, which can improve course textures, distant features, and small interface text. The difference is generally more noticeable on larger screens and at closer viewing distances.
However, an impact screen is a textured surface that moves when struck. It will not necessarily reveal fine detail as cleanly as a rigid cinema screen. Poor focus, wrinkles, ambient light, or aggressive digital correction can also reduce the visible benefit of additional resolution.
Check the whole signal chain
Before paying extra for 4K, confirm that your computer can run the simulator at your target resolution and frame rate. Check the projector’s supported inputs, cable requirements, and any limitations associated with particular display modes.
Projectors marketed as 4K may use different imaging technologies, including pixel shifting. Compare actual image performance rather than relying only on a resolution badge.
For a budget projector, prioritize these essentials:
- The correct throw range and mounting geometry.
- Enough usable brightness for your room.
- Consistent focus across the screen.
- Suitable input support and responsiveness.
- Reasonable maintenance costs and warranty support.
Lamp-based and solid-state light sources have different maintenance considerations. Replacement lamps, filter cleaning, fan noise, and ventilation all deserve attention. A low purchase price is less attractive if the projector cannot fit the room or requires expensive corrective work.
6. Choose an Impact Screen for Both Picture and Ball Performance
A golf impact screen must withstand repeated ball strikes while providing a usable projection surface. Ordinary projector fabric, bedsheets, and improvised tarps are not substitutes for a purpose-built golf impact screen.
Screen construction affects image texture, sound, durability, and rebound behavior. Smoother surfaces can show finer image detail, while layered designs may help manage impact noise. Neither feature eliminates the need for correct installation.
When comparing screens, assess:
- Surface finish: Texture, weave visibility, and how evenly the material displays the image.
- Impact suitability: The manufacturer’s intended golf use and installation requirements.
- Noise: Both the impact sound and vibration transmitted into the frame or building.
- Attachment method: How the screen connects to the enclosure and allows tension adjustment.
- Care requirements: Approved cleaning methods and guidance on ball condition.
- Replacement options: Whether the impact surface can be replaced without rebuilding the enclosure.
The Carl’s Place Premium Impact Screen is one established option to consider when comparing picture quality and ball-impact behavior. As with any screen, separate material characteristics from installation effects: tension, rear clearance, and frame padding can substantially change the experience.
Use clean, undamaged golf balls and keep clubfaces clean. Dirt, scuffs, and transferred markings can degrade the screen’s appearance. Follow the screen maker’s cleaning instructions rather than experimenting with strong detergents or abrasive tools.
7. Install for Safe Impact, Low Bounceback, and Flexible Use
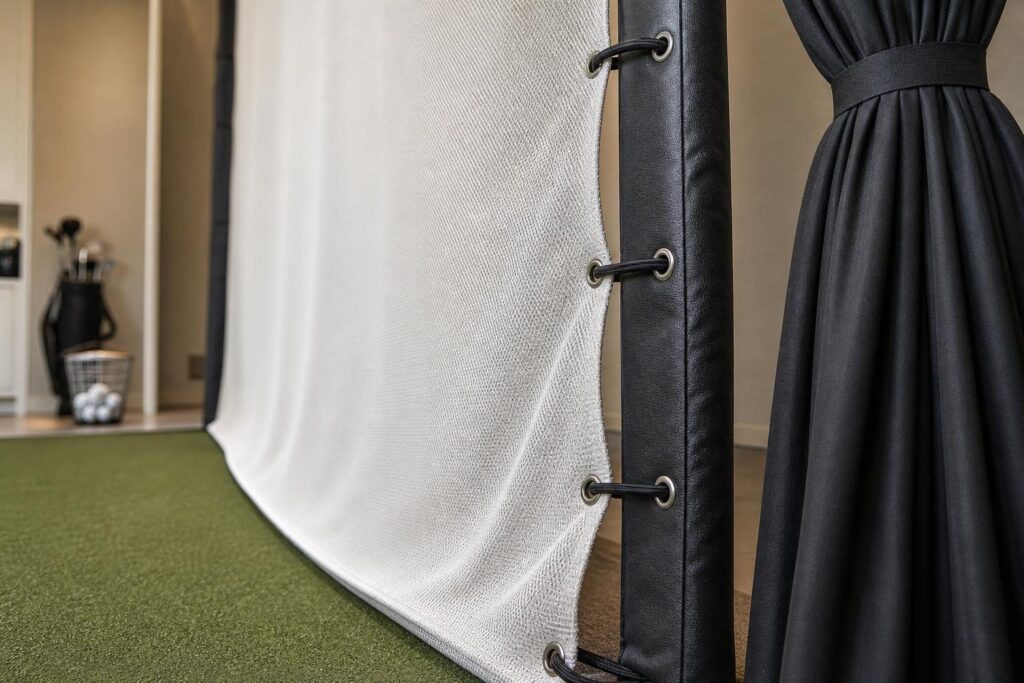
Bounceback is a safety issue, not simply an annoyance. A screen pulled excessively tight can behave like a trampoline, while hard objects immediately behind it can cause abrupt rebounds or damage.
Follow the manufacturer’s instructions for rear clearance, attachment spacing, and tension. There is no single clearance or tension setting that suits every screen and enclosure.
Reduce rebound without creating new hazards
- Provide the specified space behind the screen so it can deflect.
- Use the recommended attachment system rather than rigidly stretching the material.
- Pad exposed frame members and protect surrounding hard surfaces.
- Include suitable side and overhead protection for mishits.
- Keep spectators and loose equipment outside the hitting and rebound zones.
If bounceback is excessive, stop hitting and inspect the installation. Check for overtensioning, inadequate rear clearance, or contact with a wall or frame. Do not add heavy backing layers without checking compatibility; extra material can change how the screen moves and absorbs impact.
Retractable screens for multipurpose garages
A retractable impact screen can free up space when the simulator is not in use. Choose a system explicitly designed for golf-ball impact, not a conventional retractable movie screen.
Check how the deployed screen is restrained, whether side protection retracts or needs separate storage, and how the bottom edge is secured. Any bottom bar must be protected from ball strikes according to the system’s design.
Garage-door movement introduces another constraint. Confirm that the screen, projector, enclosure, and cables remain clear throughout the door’s travel. A retractable screen does not make a shared garage practical unless the rest of the setup also stores safely.
8. Verify Compatibility Before You Buy
The best golf simulator projector and screen combination is one that works as a complete system. Before ordering, create a simple specification sheet with your measurements and intended settings.
| Item to confirm | What to record |
|---|---|
| Screen | Viewable width, height, aspect ratio, and required rear clearance |
| Projector | Throw range, lens position, offset, mount orientation, and ventilation needs |
| Hitting area | Ball position, swing clearance, and protection for mishits |
| Launch monitor | Required placement and operating space |
| Computer and software | Output resolution, aspect-ratio support, and graphics capability |
| Cabling | Signal format, route length, power access, and protection from foot traffic |
If possible, temporarily position the projector and display a test grid before finalizing the mount. Check edge alignment, corner focus, screen coverage, and shadows from the actual hitting position.
Finally, plan routine maintenance. Inspect screen attachments, padding, mounting hardware, and cables regularly. Keep projector vents clear, and follow the manufacturer’s cleaning procedures. Small changes in screen tension or projector alignment can affect both safety and picture quality.
Conclusion
Start with safe room geometry, choose a screen size and aspect ratio that fit, and then select a projector with the correct throw range and sufficient brightness. Resolution matters, but it comes after placement, light control, and screen quality. Treating these decisions as one connected system is the most reliable route to a clear, immersive, and practical home golf simulator.