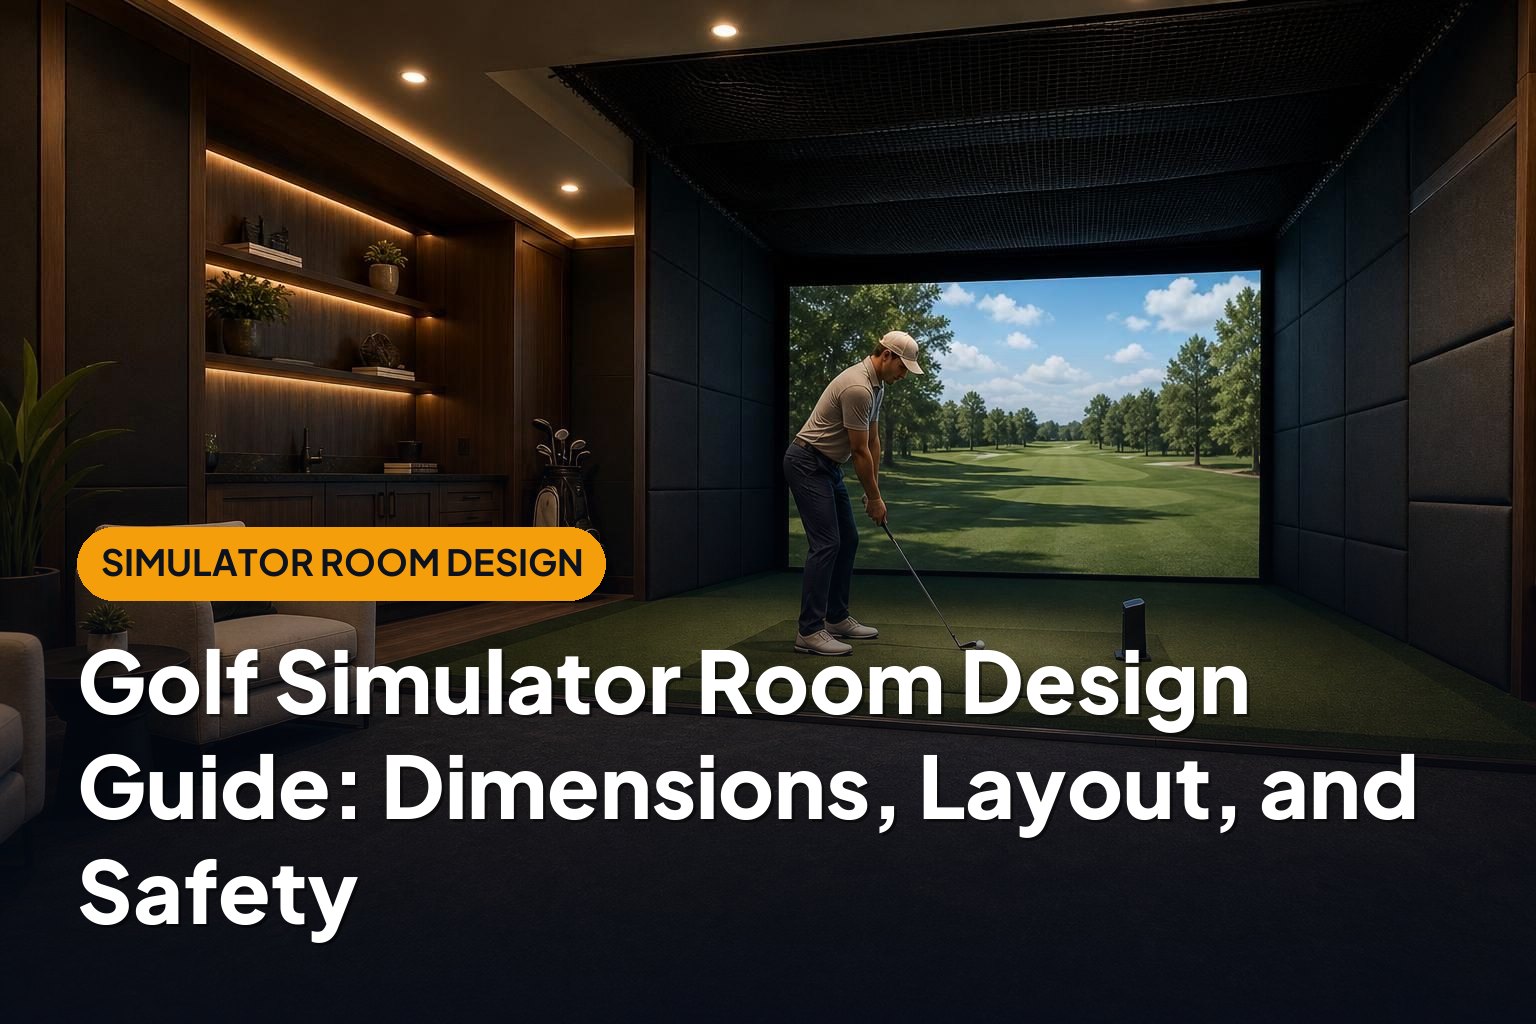
A good home golf simulator starts with the room, not the launch monitor. The right dimensions, hitting position, lighting, and protective barriers help create a space that is comfortable to use and safer for golfers, spectators, and the rest of your home. This golf simulator room design guide explains how to plan the whole setup, from your first measurements to the checks you should make before hitting a ball.
1. Measure the Room and Define Your Space Requirements
Before comparing equipment, measure the usable room—not just its wall-to-wall dimensions. A ceiling beam, garage door opener, support column, or low light fixture can make an otherwise promising space unsuitable.
Record these measurements in a simple floor plan:
- Width: Measure at the proposed hitting position and across the full swing area.
- Depth: Include space behind the screen, the ball-to-screen distance, and clearance behind the golfer or launch monitor.
- Height: Measure from the top of the finished hitting mat to the lowest obstruction within the swing area.
- Access: Mark doors, stairs, storage cabinets, electrical panels, windows, and walkways.
- Fixed equipment: Note pipes, ducts, overhead storage, garage tracks, and ceiling-mounted appliances.
Use Planning Ranges, Not Guaranteed Minimums
The following dimensions are useful starting points for comparing rooms. They are not universal requirements: golfer height, swing shape, club length, and equipment choice can change what works.
| Dimension | Early planning range | What determines the final requirement |
|---|---|---|
| Ceiling height | About 9–10 feet or more | The tallest golfer, longest intended club, mat thickness, and overhead obstructions |
| Room width | About 10–12 feet for some single-handed layouts; 14–16 feet offers more flexibility | Swing clearance, hitting position, enclosure width, and left- or right-handed use |
| Room depth | About 16–20 feet for many projected setups | Screen clearance, ball position, launch monitor requirements, and rear access |
A compact setup may fit outside these ranges, while another system may need more room. Confirm the exact requirements of the selected launch monitor, enclosure, screen, and projector before buying.
Use painter’s tape to mark the screen face, enclosure frame, mat, and ball position on the floor. This simple exercise often reveals problems that a room measurement alone will miss.
2. Check Ceiling Height and Full-Swing Clearance
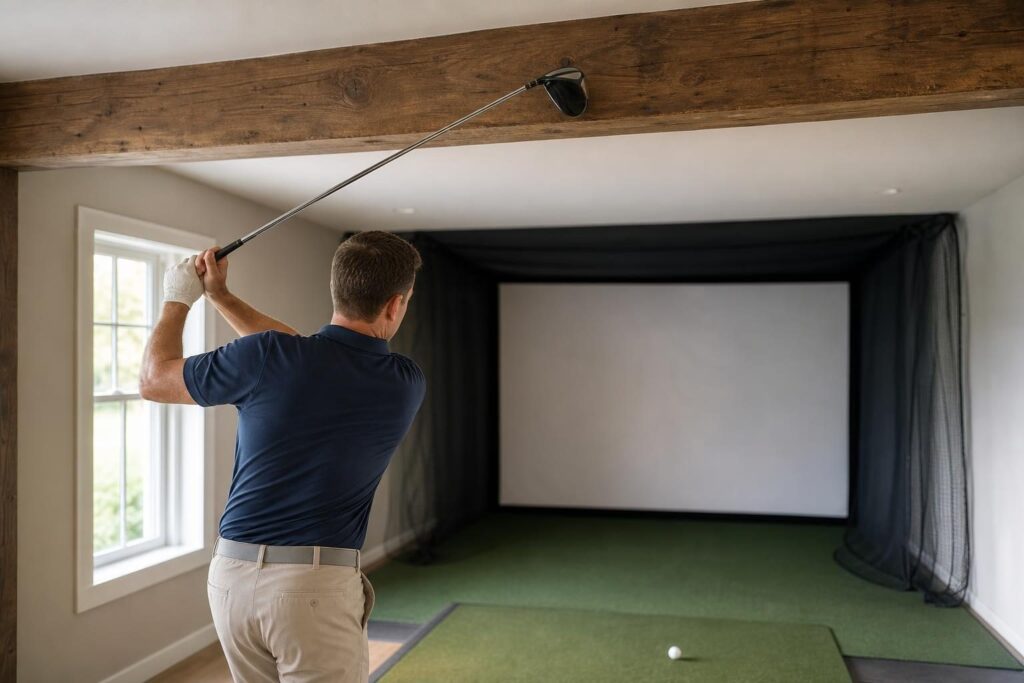
Ceiling height is one of the hardest constraints to fix later. A room can have enough floor space yet still force you to shorten your backswing or change your finish.
Start by checking the area around the entire swing, not just directly above the ball. The club travels behind and beside you, and a beam several feet from the hitting spot may still be in its path.
Can You Use a Golf Simulator With an 8-Foot Ceiling?
Sometimes, but an 8-foot ceiling is a significant limitation. Some golfers may have room for shorter clubs, while many will not have enough clearance for a normal driver swing. Golfer height alone does not settle the question because swing planes differ.
Do not treat an 8-foot ceiling as suitable for unrestricted golf simply because a mat and screen fit beneath it. If only partial swings or short irons are practical, design the room around that limitation rather than encouraging a cramped swing.
Choose Low-Ceiling Equipment Carefully
A low-profile enclosure can reduce the space occupied by its frame, but it cannot create additional club clearance. When evaluating enclosures for low ceilings, check the actual assembled height, connectors, padding, and installation space—not just the advertised screen size.
Avoid overhead lights or projector mounts within the possible club path. Where practical, position equipment outside the swing area, while still meeting its mounting and operating requirements.
Never use a full-speed swing to discover whether a room is tall enough. Begin with an empty, cleared space and slow, controlled movement. If clearance remains uncertain, choose another location or restrict the intended use.
3. Plan the Hitting Position, Traffic Flow, and Room Location
The hitting position connects every part of golf simulator room design. It determines swing clearance, screen alignment, launch monitor placement, projector geometry, and where other people can safely stand.
Centered Versus Offset Hitting
A centered hitting position is convenient when both left- and right-handed golfers will use the simulator. However, accommodating both swing directions usually requires more width.
An offset position can make a narrower room workable for one handedness. The trade-off is that the image may appear off-center, and the opposite-handed golfer may not have adequate clearance. Some simulation software supports an offset aiming position, but this does not solve physical space limitations.
Garage Versus Basement
A garage often provides useful floor area, but door tracks, opener motors, sloped floors, temperature swings, and vehicle access complicate the layout. Check the space with the garage door in every position you expect to use.
A basement may offer a more permanent, comfortable installation, but low ceilings, beams, support columns, moisture, and difficult equipment access are common constraints. Consider how impact noise could travel into the rooms above.
For either location, plan for:
- A clear entry route that does not cross an active hitting area.
- Seating outside both the swing envelope and potential ball flight paths.
- Accessible doors, utilities, and required emergency exits.
- Enough room to maintain equipment without dismantling the whole installation.
- Storage for clubs and accessories that cannot fall into the hitting area.
A shared room also needs a realistic changeover plan. Movable mats and retractable screens can help, but their positions should be repeatable so alignment and clearances remain consistent.
4. Choose Between an Enclosure and a Hitting Net
Your main containment options are a projected impact screen, usually within an enclosure, or a hitting net paired with a separate display. Neither option is automatically safer; the result depends on coverage, installation, condition, and how well the setup suits the golfers using it.
Impact Screen and Enclosure
An enclosure creates a defined hitting bay and supports an immersive projected image. Its side and roof panels can help contain mishits, although their coverage varies by design.
Allow the specified space behind the impact screen so it can deflect without striking a wall or other hard surface. Screen tension matters too: an incorrectly installed screen can produce excessive rebound or wear.
A DIY enclosure such as those offered by Carl’s Place introduces several fit checks beyond screen dimensions. Review the assembled frame footprint, required pipe specifications if sourcing your own frame components, connector space, and clearance needed for assembly. A frame that technically fits may still be difficult to build or service in a tight room.
Screen-Free Hitting Net
A purpose-built golf net can simplify a setup by removing the projector and impact screen from the plan. Products such as The Net Return Pro Series suit this general approach, with shot information shown on a separate monitor or television.
A net still requires adequate swing room, clearance from walls, and protection against shots that miss its capture area. Do not assume every net permits the same ball speed, club use, or distance from the golfer.
Side and Overhead Protection
Side protection nets are especially useful where a shank could reach a wall, window, doorway, or person. Overhead protection may also be appropriate for high-launching mishits.
Choose golf-rated containment and follow its installation instructions. Check gaps at floor level, between panels, and around the enclosure entrance. Exposed frame sections may need suitable padding, but padding is not a substitute for preventing direct ball contact with hard components.
5. Match the Launch Monitor, Screen, and Projector to the Layout
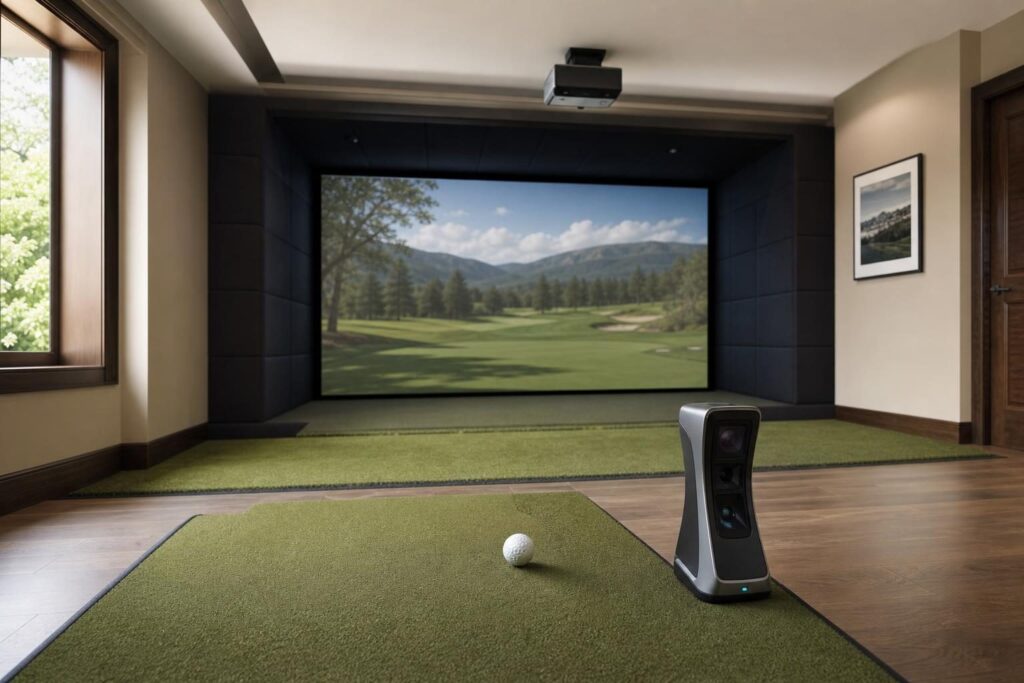
Choose the equipment as a system. A launch monitor that works well in one room may be a poor fit for another because of where it must sit and how much ball flight it needs to observe.
Launch Monitor Placement
Many radar-based systems sit behind the golfer and require specified distances both behind the ball and between the ball and screen. Some camera-based systems sit beside the hitting area, while others mount overhead.
These categories are only a starting point. Check the exact model’s indoor space requirements, hitting zone, alignment procedure, lighting needs, and any special ball requirements.
For mixed-handed use, consider whether a floor-mounted device must be moved between players. An overhead system may make switching easier, but it can introduce mounting-height and installation constraints.
Projection and Image Size
Match the screen’s usable image area to the projector’s aspect ratio and throw requirements. The enclosure’s outside dimensions are not necessarily the same as the visible projection area.
Before selecting a projector, confirm:
- The lens-to-screen distance required for the desired image width.
- Whether the mounting position creates shadows.
- Whether the projector or its protective housing enters the swing area.
- Whether the screen shape matches the intended image format.
- How power and video cables will reach the unit safely.
Prefer correct physical placement over relying heavily on digital image correction. For a net-based simulator, place the separate display where it is easy to read but protected from errant shots.
6. Design Lighting, Power, and Cable Management
Good simulator lighting keeps the ball, controls, and walking areas visible without washing out the projected image. Lighting the whole room brightly is rarely the best solution.
Use Separate Lighting Zones
A practical plan separates the hitting area, screen area, and seating or access areas. Dimmable fixtures make it easier to balance projection quality with comfortable visibility.
Direct light toward the mat rather than the screen, and keep fittings outside the club path. Shielded or recessed fixtures can help in some rooms, but even a recessed fitting must be considered when checking ceiling clearance.
Some launch monitors have specific lighting or infrared requirements. Confirm compatibility before committing to fixtures, dimmers, or decorative lighting.
Plan Electrical Connections Early
List everything that needs power: launch monitor, computer, projector, display, lighting, network equipment, and climate-control devices. Arrange outlets so cords do not cross walkways or the hitting area.
Use appropriate cable protection and strain relief where needed. Avoid improvised permanent extension-cord arrangements, and use a qualified electrician for new outlets, circuits, or work requiring professional installation.
A reliable network connection is also worth planning. Check software requirements and signal quality before placing the computer in a distant cabinet or equipment closet.
7. Control Noise and Keep the Room Comfortable
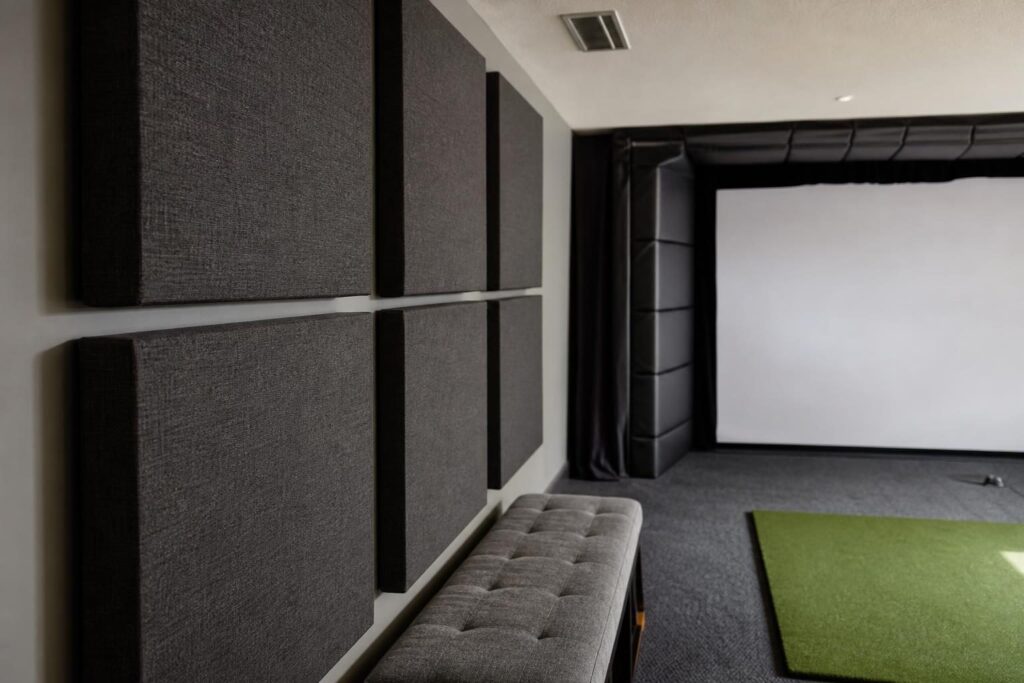
Simulator noise comes from more than the ball hitting the screen. Club impact, foot movement, frame vibration, fans, and sound reflecting from hard surfaces can all affect nearby rooms.
Reduce Echo and Sound Transmission Separately
Soft finishes and acoustic panels can reduce echo inside the simulator room. They do not, by themselves, soundproof it.
Reducing noise transmission into a shared home may require attention to doors, wall and ceiling construction, air gaps, and structural vibration. More substantial isolation work is best considered before finishing the room.
For a quieter setup:
- Use a suitable hitting mat and supporting surface.
- Install the screen at the manufacturer’s recommended tension.
- Address loose frame connections or vibrating components.
- Consider whether rigid attachments could transfer vibration into the building.
- Agree on playing hours if bedrooms or shared living spaces are nearby.
Manage Temperature, Moisture, and Flooring
Garages may need heating, cooling, or insulation to remain comfortable. Basements may need moisture control before adding turf, mats, electronics, or wall treatments.
Choose a stable, slip-resistant floor and keep the hitting surface level. If the stance mat and hitting strip have different heights, correct the mismatch rather than adapting your posture to it.
Maintain airflow around computers and projectors. Do not block vents with acoustic materials, enclosure fabric, or storage.
8. Complete a Safety and Installation Check
Containment should account for poor shots, not just straight ones. Beginners, children, and experienced golfers can all hit unexpected launch angles or miss the intended striking area.
Before the first session, work through this checklist:
- Verify swing clearance: Recheck from the finished mat surface with every intended golfer and club type.
- Inspect containment: Look for uncovered hard surfaces, open seams, worn netting, and exposed frame sections.
- Confirm screen clearance: Keep the required deflection space clear of stored items and walls.
- Secure equipment: Follow mounting and anchoring instructions, using fasteners appropriate to the building structure.
- Protect people: Establish a waiting area outside the swing and possible rebound zones. Keep children and pets out of the active bay.
- Clear the floor: Remove loose balls, bags, cables, and other trip hazards.
- Inspect balls and clubs: Damaged or dirty balls and damaged clubheads can harm screens or create additional risks.
- Introduce play gradually: Begin with controlled, lower-energy shots and check containment and rebound behavior before progressing.
Do not place spectators in areas that depend on the golfer hitting straight. If a shot escapes containment or rebounds dangerously, stop using the setup until the cause is corrected.
Repeat these checks after moving the mat, changing screen tension, replacing equipment, or converting a shared room back into simulator mode. Inspect nets, screens, attachments, and padding regularly for wear.
9. Conclusion: Design Around the Room You Actually Have
The best golf simulator room design balances usable dimensions, natural swing clearance, reliable ball containment, and everyday comfort. Measure first, confirm equipment requirements together, and leave room for safe movement and maintenance.
A carefully planned net setup can be a better choice than a cramped projection enclosure. Build around your room’s real limits, and prioritize a comfortable swing and dependable protection over the largest possible screen.
Leave a Reply