Choosing a home golf simulator means matching your room, budget, and golfing goals—not simply buying the package with the biggest screen. This home golf simulator buying guide explains the main setup types, essential equipment, price tiers, and ownership costs, so you can compare packages with confidence and avoid paying for features you will rarely use.
1. Decide What You Want Your Simulator to Do
Start with your main reason for buying. A golfer working on ball striking needs different equipment from a family looking for casual games. Your priorities should guide the purchase before you compare package names or launch monitor specifications.
- Practice and improvement: Prioritize reliable ball data, useful practice software, and a comfortable hitting surface.
- Virtual rounds: Look at course software, realistic shot tracking, and how putting and short shots work.
- Family entertainment: Favor simple controls, multiplayer options, and forgiving game settings.
- Occasional use: Consider equipment that stores easily rather than a permanent enclosure.
Understand the difference between simulator types
A launch-monitor-based simulator tracks a real golf ball and uses that information to calculate its virtual flight. Depending on the device, it may also measure or calculate club data. This is generally the category to investigate when realistic practice is the priority.
Budget systems do not all work this way. OptiShot 2 uses infrared sensors in a hitting platform to track the club passing over them, rather than directly measuring ball flight. Its results therefore need to be understood differently from those of a ball-tracking launch monitor.
Phigolf 2 uses a motion sensor and can be played with a swing stick. That makes it an option for golf-themed entertainment without a full real-ball hitting area, but it is not a substitute for measured ball-flight feedback.
Would an outdoor practice net be enough?
If your goal is simply to make more swings and work on contact, a suitable outdoor net and mat may be all you need. A simulator adds shot feedback, virtual targets, and course play, but also introduces software, power, compatibility, and setup considerations.
A net alone cannot show the full flight of the ball. You can, however, build a practice area around a net first and add a compatible launch monitor later.
2. Check Your Space Before Choosing Equipment
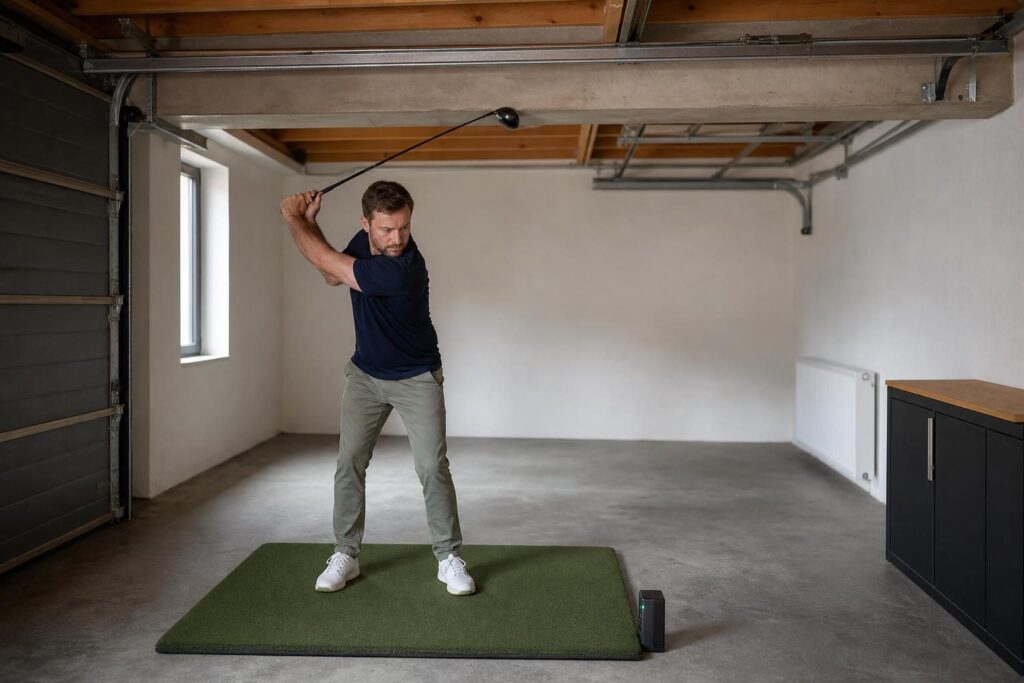
There is no universal minimum room size that works for every golfer and simulator. Your height, swing, longest club, screen arrangement, and launch monitor all affect the space required.
Measure the usable area—not just the room dimensions. Garage door tracks, ceiling lights, beams, radiators, and furniture can make an otherwise promising room unsuitable.
- Height: Allow clearance for a comfortable full swing, including the follow-through.
- Width: Check club clearance, side protection, and whether both right- and left-handed players will use the setup.
- Depth: Account for the hitting position, ball-to-screen distance, space behind the screen, and any tracking distance the launch monitor requires.
- Seating: Keep spectators and other players outside the swing and ball-rebound zones.
Test the proposed hitting position carefully with your longest club, starting with slow movements and keeping people and breakable objects clear. Do not assume that fitting one cautious swing means you can swing naturally at full speed.
Match the room to the tracking technology
Many radar-based launch monitors sit behind the golfer and require a specified amount of ball flight in front. Side-mounted camera systems can suit shorter rooms, although exact requirements vary by model.
Overhead systems can keep the floor area clear and make switching between right- and left-handed players easier. However, they require suitable mounting positions and may be less practical in a room that must return to normal household use.
Check the manufacturer’s installation requirements for the exact device. A retailer’s general room recommendation should not replace the launch monitor’s own placement instructions.
3. Understand the Essential Equipment
A complete simulator is a collection of parts that must work together. The launch monitor gets most of the attention, but the mat, containment, display, and computer can have just as much influence on everyday enjoyment.
| Component | What it does | What to check |
|---|---|---|
| Launch monitor or tracking system | Supplies shot information to the software | Indoor requirements, measured data, compatibility, and subscriptions |
| Hitting mat | Provides the stance and striking surface | Comfort, stability, replaceable hitting section, and tee options |
| Net or impact screen | Contains golf balls | Golf-ball impact rating, coverage, installation, and clearance |
| Enclosure and protection | Helps contain offline and high shots | Side coverage, overhead coverage, and protection around hard surfaces |
| Software | Provides practice modes and virtual golf | Device support, courses, game modes, and license terms |
| Computer or mobile device | Runs the supported applications | Operating system and graphics requirements |
| Display | Shows shot results and gameplay | Screen placement, visibility, and connection options |
Choose the mat and containment carefully
A mat should remain stable and provide a comfortable hitting surface for repeated practice. A replaceable hitting strip can make it easier to renew the most heavily used section without replacing the entire platform.
An impact screen is designed to receive golf shots; an ordinary projection screen is not. Follow the screen manufacturer’s guidance on tension, spacing, and installation, because incorrect installation can increase rebound or damage.
Can you buy a complete package without a projector?
Yes—a simulator can be fully playable without projection. You can hit into a suitable net while viewing the results on a compatible tablet, monitor, or television positioned safely away from shots.
A projector makes the experience more immersive, but it is not essential to shot tracking. A projector-free package can also avoid the expense and installation work associated with a projector mount, screen alignment, and cable routing.
4. Set a Realistic Purchase and Ownership Budget
Home golf simulator prices span a wide range because a swing-stick game and a dedicated real-ball golf room are very different purchases. Basic entertainment systems can cost hundreds, while substantial launch-monitor packages cost thousands. Premium installations can extend well into five figures.
Compare the total playable setup, not just the launch monitor price. Package contents and software terms vary, so apparently similar offers may leave you with very different additional costs.
Packages under $5,000
When shopping for home golf simulator packages under $5,000, concentrate on the fundamentals: tracking, a usable mat, safe containment, and compatible software. A net-and-display arrangement may let you put more of the budget toward the launch monitor than a projected enclosure would.
Check whether the advertised total assumes you already own a suitable computer or tablet. Also investigate whether the included software is a practice application, a limited course bundle, or a temporary trial.
Packages under $10,000
Home golf simulator packages under $10,000 can offer more scope for an impact-screen enclosure, a better hitting surface, projection, or an upgraded launch monitor. That does not mean every package at this level includes all of those items.
Decide which improvements matter most. For a practice-focused golfer, better tracking and a comfortable mat may be more valuable than a larger display.
Hidden costs and running expenses
Build a separate checklist for expenses beyond the advertised package price:
- Shipping, taxes, assembly, and installation.
- A compatible computer, tablet, or graphics upgrade.
- Projector mounts, cables, adapters, and electrical work.
- Additional side protection, padding, or flooring.
- Software subscriptions, course access, and third-party integrations.
- Replacement hitting strips, screens, balls, and other wear items.
- Heating, cooling, and electricity for the room.
To estimate running costs, list each recurring charge and its renewal date, then add a reasonable allowance for wear. Electricity depends on equipment power consumption and usage; conditioning a garage or outbuilding may be a more significant expense than powering the simulator itself.
5. Choose a Launch Monitor and Software Ecosystem
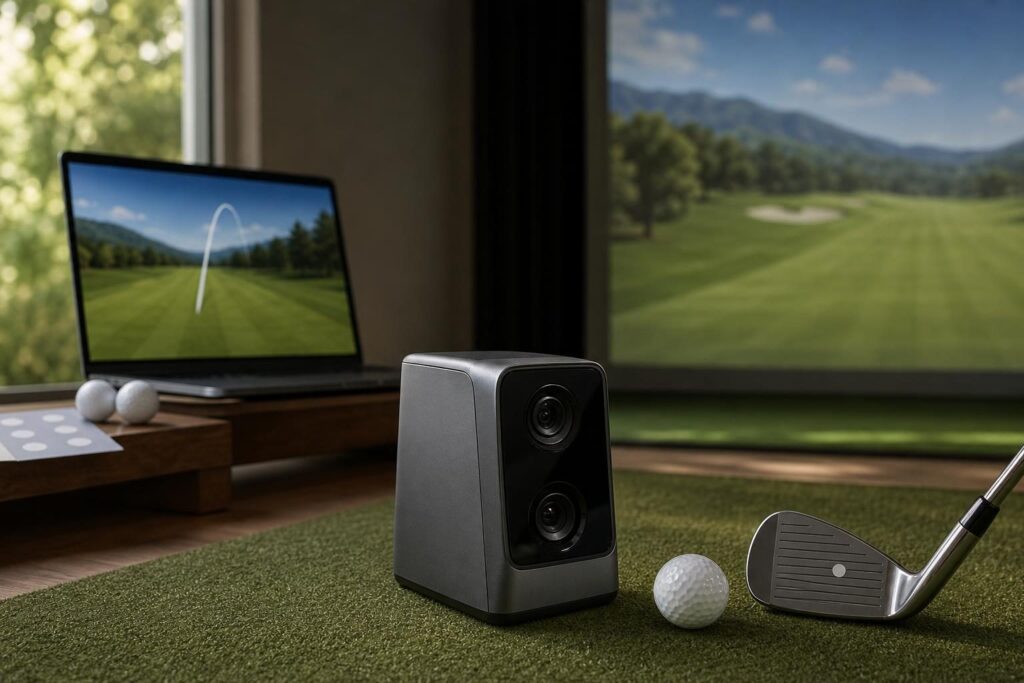
The launch monitor is the foundation of a real-ball simulator. Choose it for the shots you want to practice, the room you have, and the software you want to run—not simply the longest list of data points.
Check which figures are directly measured and which are calculated. Also confirm whether advertised club data requires particular balls, club stickers, accessories, or an additional subscription.
- Shot coverage: Can it handle the chips, pitches, and putts you expect to play?
- Alignment: How carefully must it be positioned before each session?
- Hitting area: How much flexibility do you have in ball placement?
- Software: Which applications and operating systems are supported?
- Ownership terms: What remains available if you stop paying recurring fees?
SkyTrak+ versus Uneekor EYE MINI packages
The SkyTrak+ and Uneekor EYE MINI are examples of side-positioned launch monitors worth comparing for a home setup. Compare their complete package costs, indoor placement requirements, practice tools, and software access rather than evaluating the devices in isolation.
Also consider handedness changes. A side-positioned unit may need to be moved and realigned when switching between right- and left-handed golfers. Confirm the procedure for the particular model and installation.
Uneekor packages for dedicated rooms
Uneekor offers both floor-positioned and overhead launch monitor options. For a dedicated golf room, an overhead configuration may appeal because it leaves the hitting area less cluttered and can accommodate mixed-handed play without moving a floor unit.
Compare the exact model’s mounting requirements, hitting zone, included software, and computer specifications. Packages within the same brand can differ substantially.
Foresight Sports SIM IN A BOX Birdie
The Foresight Sports SIM IN A BOX Birdie package is another option to investigate when comparing bundled systems. Treat the package name as a starting point: verify the current itemized contents, software licenses, computer provision, room requirements, and installation responsibilities before judging its value.
6. Compare Complete Packages, DIY Builds, and Portable Setups
A simulator package simplifies shopping by bundling major components. A DIY build lets you choose each part independently. Neither approach is automatically cheaper or better.
When a package makes sense
- You want fewer compatibility decisions.
- You prefer a coordinated enclosure, screen, and display arrangement.
- You value help from a retailer familiar with the complete configuration.
- You want a clearer starting point for installation.
Still ask who supports each component. Buying everything in one transaction does not necessarily mean one company handles every warranty or technical problem.
When DIY makes sense
A DIY build can suit an unusual room, an existing collection of equipment, or a buyer who wants precise control over spending. It also makes you responsible for checking dimensions, projector placement, software compatibility, and safe ball containment.
Compare like for like. A DIY total that excludes a computer, software, or protective materials is not directly comparable with a package that includes them.
Choosing a portable simulator
The best portable golf simulator for your home is one you will actually set up. Consider the full routine: unfolding the net, placing the mat, aligning the monitor, connecting the display, and clearing everything afterward.
Check packed dimensions, component weights, storage conditions, and whether the equipment needs recalibration after moving. A portable launch monitor does not make a heavy mat or large enclosure portable.
For a shared garage or living space, a net with a tablet display may be more manageable than a projection setup. For outdoor use, verify weather limitations, lighting requirements, and safe containment beyond the intended target.
7. Plan for Multiplayer Games at Home
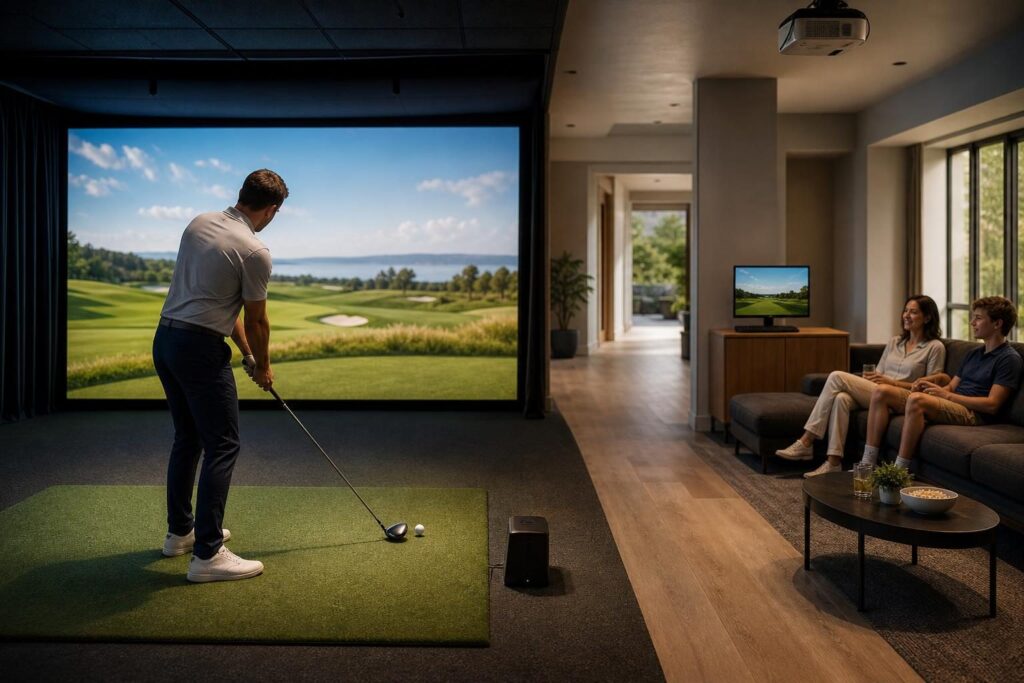
Multiplayer suitability depends as much on software and room layout as on shot tracking. A system that works well for solo practice may feel awkward during a family evening.
- Local players: Confirm the number supported by the exact game mode and license.
- Handedness: Check whether players can switch sides without moving equipment.
- Putting: Investigate putting support, automatic putting, and gimme settings.
- Difficulty: Look for adjustable tees, handicaps, and beginner-friendly options.
- Profiles: Check whether players can save preferences and results.
- Online play: Verify subscriptions, internet requirements, and supported modes separately from local multiplayer.
Plan safe waiting and seating areas. Nobody should need to walk through the hitting zone to reach a chair, keyboard, or door.
A simple control arrangement also helps. Having to leave the mat repeatedly to operate a distant computer can interrupt play, especially with several people sharing a round.
8. Check That the Package Includes Everything You Need
Before ordering, ask for an itemized list with exact product names and quantities. Terms such as “complete,” “ready to play,” and “simulator package” do not guarantee identical contents.
- Confirm room fit. Check the assembled footprint and all operating clearances.
- Identify the tracking hardware. Verify the precise model, condition, and included accessories.
- Separate screen from enclosure. Confirm whether framing, side panels, and mounting hardware are supplied.
- Check the mat. Review its dimensions, hitting section, and suitability for your planned layout.
- Verify the display arrangement. Establish whether a projector, mount, monitor, or television is included.
- Check computing requirements. Compare the included or existing device against the software’s recommended specifications.
- Read software terms. Distinguish permanent access from trials, subscriptions, and optional upgrades.
- Confirm installation responsibilities. Identify any assembly, mounting, electrical work, or calibration you must arrange.
- Review support and returns. Check warranties, return shipping, restocking terms, and support contacts.
Finally, picture an ordinary session from start to finish. Where will you store clubs? How will you turn everything on? Can you reach the controls safely? These practical details often reveal missing items before checkout.
Conclusion: Buy for Your Room and Priorities
The right home golf simulator balances safe space, useful feedback, comfortable equipment, and an affordable total cost. Start with your goals and room measurements, choose the tracking system and software next, then compare complete packages against a realistic DIY alternative. A well-matched net-based setup can be a better purchase than an impressive golf room that is awkward to use.