
The best golf simulator hitting mat is not simply the thickest or softest option. It is the mat that fits your space, provides a stable stance, works with your launch monitor, and stays comfortable through regular practice. This guide explains how to compare size, feel, construction, and durability so you can build a setup that suits both your swing and your budget.
1. Choose the Right Mat Size for Your Space and Swing
Start with the area you need to stand and swing, not just the dimensions of the turf. A mat can fit neatly inside an enclosure yet still leave you standing too close to its edge or reaching awkwardly for the ball.
Separate your measurements into three areas:
- Stance area: Enough room for both feet throughout your setup and finish, including your wider driver stance.
- Hitting area: Enough turf around the ball to accommodate normal strike variation without hitting an exposed edge or frame.
- Swing clearance: Space around and above the mat for the club, your body, and a balanced follow-through.
Use floor markings to map the proposed mat position before ordering. Check your address position with a driver and an iron, then carefully confirm the swing envelope without approaching walls, lights, or ceiling fixtures.
Plan for your simulator layout
Mat placement depends on the complete simulator. The launch monitor may require a particular position beside or behind the ball, while the screen or net needs its own safe spacing. Follow the equipment manufacturers’ placement requirements rather than centering the mat purely for appearance.
If right- and left-handed golfers will share the simulator, plan both hitting positions from the beginning. A larger surface does not automatically solve the problem: the monitor, ball position, and surrounding clearance must also work for both players.
Check thickness as well as footprint
A raised mat reduces the headroom available to the golfer. Its finished height also affects the relationship between your feet, the ball, and the launch monitor. Include any platform, underlay, and hitting-strip base when measuring the total height.
2. Understand Turf Feel, Strike Feedback, and Comfort
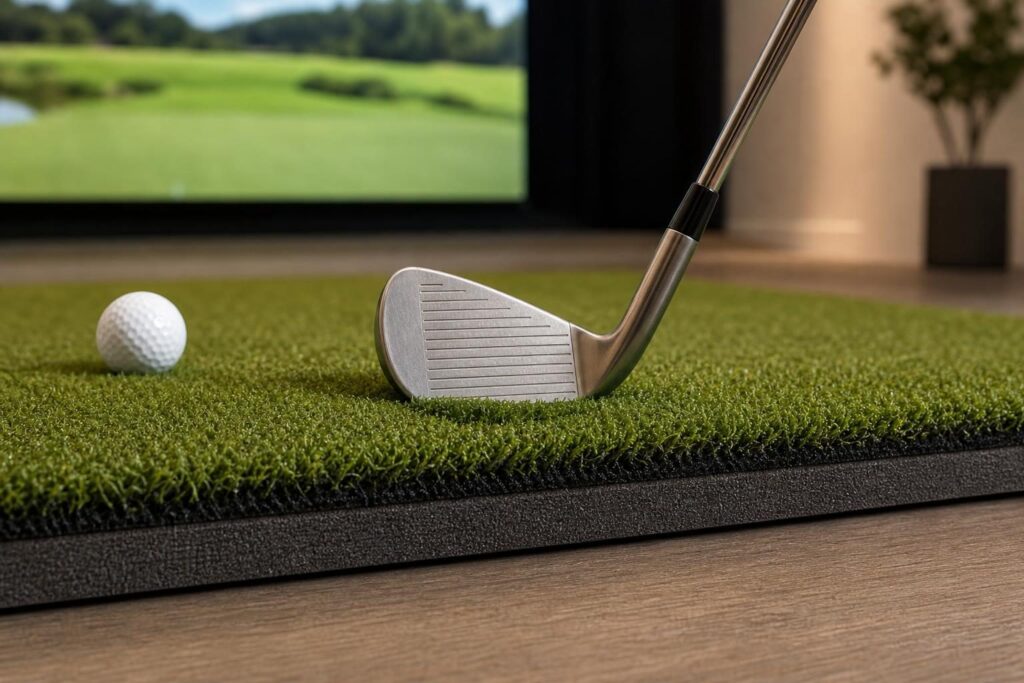
A good hitting surface balances two competing needs: it should provide useful feedback without making routine practice unnecessarily harsh. Softness alone does not tell you whether a mat achieves that balance.
Feel comes from the complete construction, including turf fibers, backing, cushioning, and the surface underneath. A plush-looking mat over a rigid base may still feel abrupt at impact. Conversely, a surface with controlled movement can feel comfortable without being especially thick.
Know what happens on a heavy strike
On real grass, the club can enter the ground after striking the ball. A simulator mat has to manage that downward force differently. Some surfaces compress, some use fibers that let the club pass through, and others incorporate a hitting section designed to move or flex.
A very forgiving mat can also disguise a heavy strike. The club may bounce or slide into the ball and produce a better result than the same swing would on grass. Look for feedback from strike sound, contact feel, and available launch-monitor data rather than judging every shot by simulated distance.
Prioritize comfort if your wrists or elbows are sensitive
Golfers with wrist or elbow discomfort should pay particular attention to impact cushioning, resistance through the hitting zone, and how the mat behaves over its intended base. Compare hitting-surface comfort separately from stance stability: a soft place to hit is useful, but an unstable place to stand is not.
- Avoid choosing purely on turf thickness or a “joint-friendly” marketing claim.
- Check return policies, especially if you cannot try the surface before buying.
- Build practice volume gradually rather than starting with long sessions.
- Stop if hitting causes pain; a different mat is not a substitute for medical assessment.
3. Compare One-Piece Mats, Hitting Strips, and Turf Designs
The main construction decision is whether to buy a complete mat or combine a stance surface with a separate hitting strip. Neither approach is automatically better. The right choice depends on how much you practice and how much installation work you want to do.
| Design | Main advantage | Main trade-off |
|---|---|---|
| One-piece golf mat | Simple setup with a continuous standing and hitting surface | Localized hitting wear may require replacing the whole mat |
| Mat with a replaceable insert | The main wear area can be changed separately | Replacement size, fit, and availability matter |
| DIY stance platform with hitting strip | Flexible layout and a choice of hitting surfaces | Requires careful construction and height matching |
Compare construction, not just brand names
Different mats from the same brand can have different turf systems and impact characteristics. For example, when comparing Fiberbuilt and Country Club Elite mats, look at the exact products’ fiber structure, resistance through impact, cushioning, and maintenance requirements rather than assuming every model shares one feel.
If the Fiberbuilt Player Preferred Golf Mat is on your shortlist, assess the complete package: hitting feel, stance stability, usable dimensions, and replacement options. Its value depends on how well that configuration fits your room and practice habits, not simply the brand name.
A dedicated insert such as the SIGPRO Softy hitting strip calls for a slightly different comparison. Focus on the hitting section’s feel, its required opening and support, its finished height, and the availability of a compatible replacement. An insert should be evaluated as part of a complete platform, not as a standalone floor mat.
4. Check Tee Options and Launch Monitor Compatibility
If you want to practice with a driver, decide how you prefer to tee the ball. Some mats accept conventional wooden or plastic tees. Others use rubber tees, adjustable holders, or separate tee accessories.
Real-tee compatibility needs a closer look
A mat advertised as accepting real tees may still have limits on insertion depth, tee position, or supported tee length. Check how the tee is held and whether it can be adjusted to your preferred ball height.
- For frequent driver practice: Look for easy height adjustment and a secure tee position.
- For mixed iron and driver sessions: Make sure the tee arrangement does not interfere with shots played directly from the turf.
- For shared simulators: Consider how quickly different golfers can change tee height.
Keep the ball in the monitor’s hitting area
Your launch monitor may have a limited hitting zone. A large mat is of little benefit if its usable tee positions or replaceable strip sit outside that zone.
Check the manufacturer’s guidance on ball position, monitor height, alignment, and required markings or accessories. For systems positioned behind the ball, include the required device-to-ball and ball-flight distances in your layout. Recheck alignment after changing mat thickness or moving the hitting position.
5. Build a Level, Stable Stance and Hitting Platform
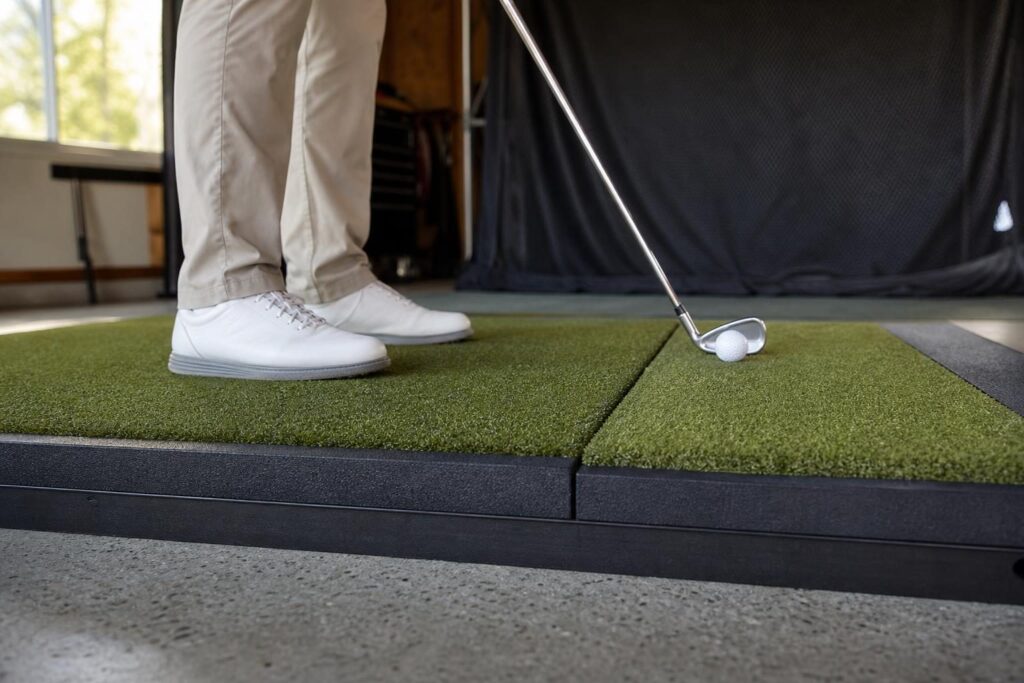
Your feet and the ball should normally sit at the same finished level. Standing above or below the hitting surface introduces an artificial lie and can encourage setup adjustments that do not transfer well to the course.
This is especially important when pairing a thick hitting strip with a separate stance mat. Compare their finished heights under normal use, not just their unloaded measurements: a soft stance surface may compress more beneath your feet.
Choose stance turf for stability
The best stance mats for a DIY golf simulator platform are not necessarily the softest. They should provide dependable footing, resist bunching, and remain consistent as you shift pressure during the swing.
Because the stance area does not take repeated club strikes, it can use a different construction from the hitting strip. This lets you prioritize a firm, secure footing around a more forgiving impact section.
Plan a replaceable-strip opening carefully
A level DIY platform needs a rigid, well-supported base and an opening matched to the selected strip. Follow the strip manufacturer’s support requirements; an insert designed to flex may need a different installation from one intended to sit fully supported.
- Confirm the strip dimensions before cutting the platform.
- Allow for turf, backing, and any specified underlay.
- Keep surrounding edges flush and free of exposed hardware.
- Make the insert removable without dismantling the entire platform.
- Check that the assembly cannot rock, shift, or tip.
Do not assume that adding extra foam will improve the design. Unspecified cushioning can change the strip’s movement, create height differences, or make your footing less stable.
6. Stop the Mat From Sliding on Concrete
A mat that moves during a swing is both distracting and a safety concern. Sliding can also alter ball position relative to the launch monitor, making the simulator less consistent.
Before adding fasteners or adhesive, identify what is moving. The entire mat may be sliding across the floor, the hitting strip may be shifting within its opening, or the upper turf may be separating from its backing. Each problem needs a different fix.
Start with the floor and backing
Clean dust and debris from the concrete and the underside of the mat. Check for moisture and confirm that the floor is sufficiently flat. A heavy mat can still move if only part of its backing contacts the floor.
Depending on the mat and floor, possible solutions include a compatible nonslip underlay, a secure perimeter frame, or an approved fixing method. Check manufacturer guidance before using tape or adhesive, particularly on coated concrete or removable garage installations.
Avoid solving sliding by placing loose objects around the hitting area. Weights, raised borders, and exposed corners can become trip hazards or enter the club’s path. Whatever method you choose, test stability with controlled movements before making full swings.
7. Judge Durability and Know When to Replace the Mat
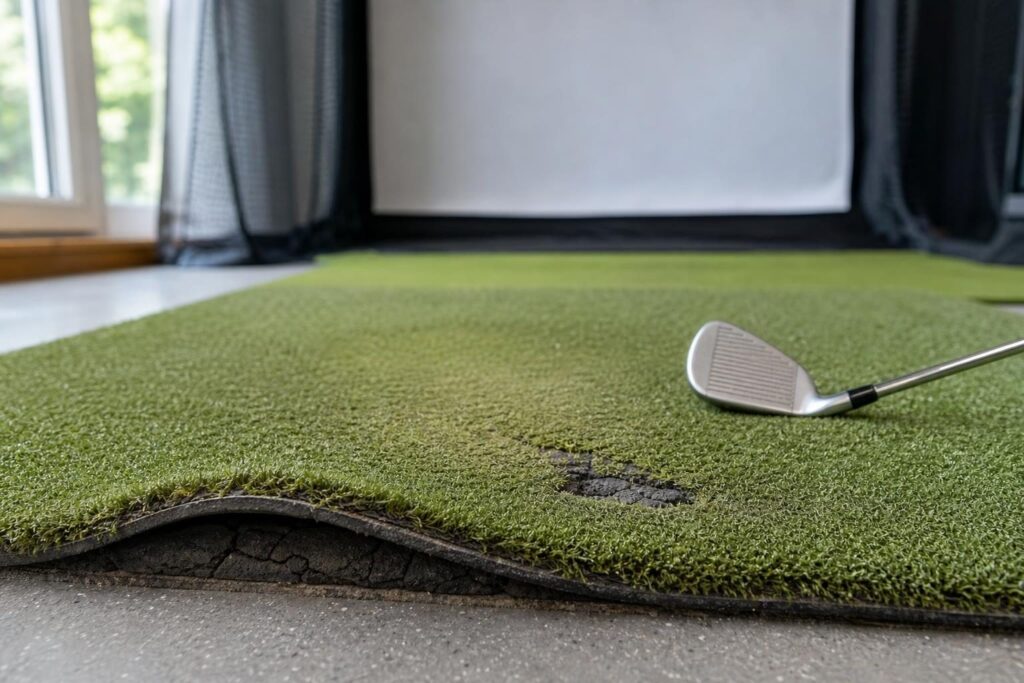
Durability is about more than whether the turf still looks green. A mat can retain its appearance while the hitting area becomes compacted, the backing deteriorates, or the surface develops an uneven feel.
Wear depends on practice frequency, strike pattern, club delivery, construction, and installation. Repeatedly hitting from one small spot concentrates wear, while a suitable design may allow you to rotate the mat or use different hitting positions.
Inspect the hitting zone regularly
- Matted or thinning fibers: The ball may sit differently or the club may interact with the backing.
- A persistent depression: The hitting surface may no longer match the surrounding level.
- A harsher impact feel: Cushioning or structural support may have changed.
- Loose layers or damaged edges: Separation can affect stability and safe use.
- Unusual movement: The backing, insert retention, or platform may need attention.
There is no universal replacement schedule for a golf simulator hitting mat. Inspect its condition and performance rather than replacing it after an arbitrary number of months. A heavily used hitting strip may need attention while the surrounding stance mat remains serviceable.
Use simple, manufacturer-approved maintenance
Keep dirt and debris out of the turf, use clean clubfaces, and follow the recommended cleaning method. Rotate the mat only if its design and simulator alignment allow it. Avoid aggressive brushing, soaking, or chemical cleaners unless the manufacturer specifically permits them.
8. Find the Best Golf Simulator Hitting Mat for Your Budget
Compare the cost of the complete working setup, not just the advertised mat. A hitting strip may also need a stance surface, platform materials, and a retention system. A one-piece mat may cost more initially but require less installation work.
Replaceable strips can offer better long-term value when wear is concentrated in the hitting area. However, that advantage depends on replacement availability and cost. Check that replacements are sold separately and confirm their exact dimensions before committing to a platform.
Use this buying checklist
- Confirm the layout: Check stance space, swing clearance, screen placement, and launch monitor requirements.
- Choose the impact feel: Prioritize manageable resistance and useful strike feedback.
- Decide on construction: Select a one-piece mat, modular mat, or separate stance-and-strip setup.
- Verify tee compatibility: Make sure your preferred tee method works at the required ball position.
- Match finished heights: Account for the base, platform, turf, and compression underfoot.
- Plan stability: Determine how the mat and any insert will stay securely in place.
- Check ownership costs: Review replacement parts, maintenance instructions, warranty terms, and returns.
For occasional practice, a straightforward, stable mat may be the most practical purchase. For frequent sessions, impact comfort and an easily replaceable hitting zone deserve more weight. Shared simulators need particular attention to layout, adjustment, and wear.
Conclusion
The best golf simulator hitting mat combines adequate space, comfortable impact behavior, secure footing, and a sensible replacement plan. Start with your room and launch monitor requirements, then compare construction and feel. A mat that stays level, remains stable, and suits your practice volume will serve you better than one chosen on thickness or appearance alone.
Leave a Reply